Replacing the Rear Windshield on my 2003 Ford Focus Wagon
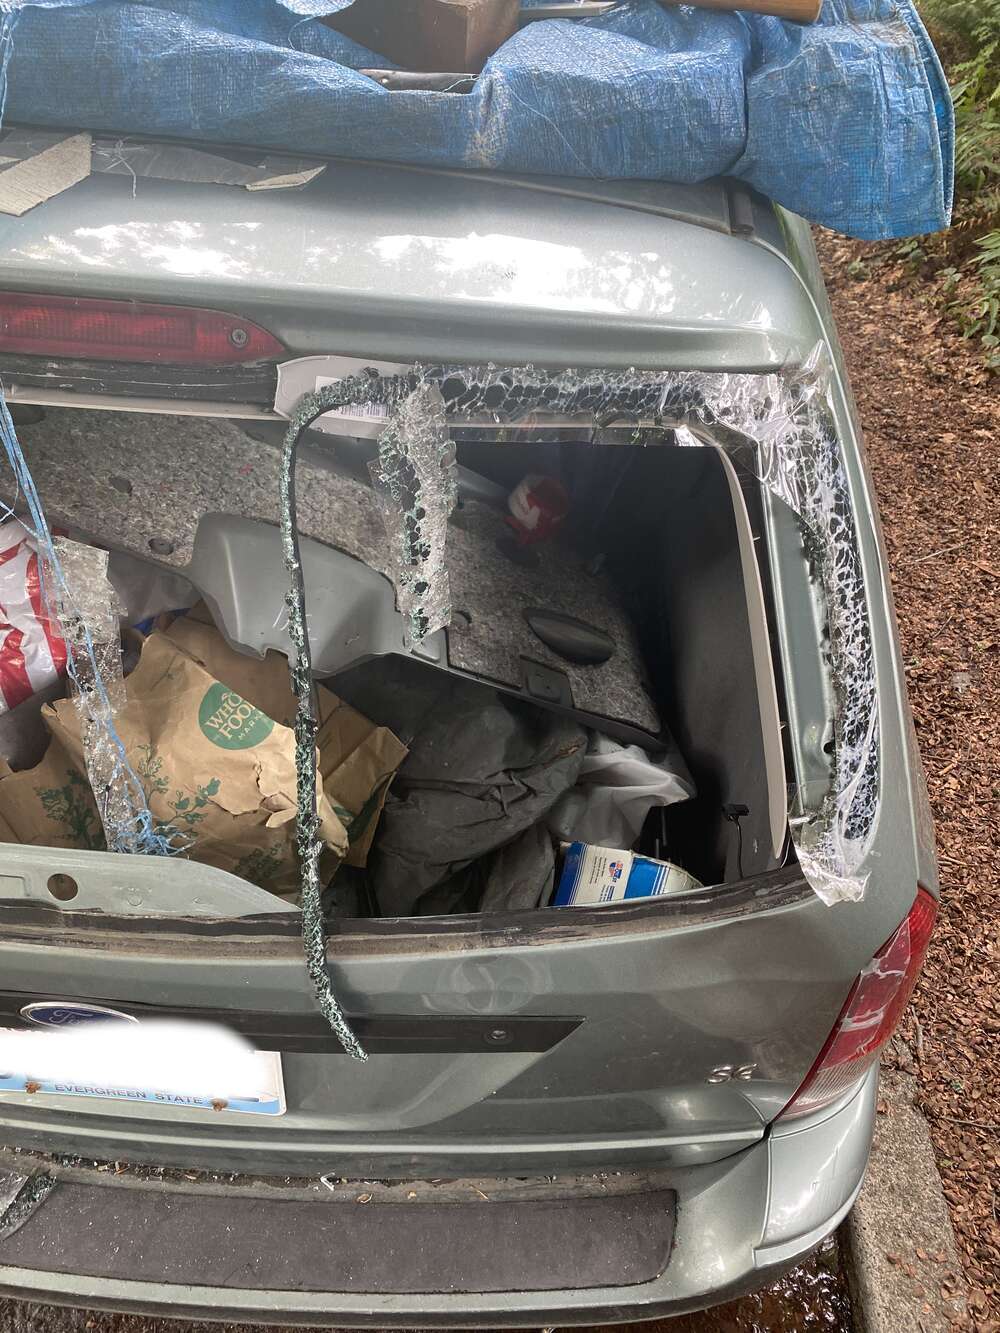
My car (a 2003 Ford Focus Wagon) got broken into recently and I refused to pay the $550 I was quoted to replace the rear windshield, instead opting to pull out a replacement from another Ford Focus Wagon I found at a local junkyard and glue it in myself.

The entire process took a really long time, mostly because I did it on the cheap and didn’t really have the right tools. The hardest parts were removing the windshield from the junkyard Focus and removing all the broken glass that was still glued onto my car (around the borders where it was glued to the opening in my trunk door). Actually gluing in the replacement was pretty quick and went smoothly.
Disclaimer: I am not a professional and I do not know what I am doing. This is my only experience replacing auto glass and there are definitely better and safer ways of doing it. I am only posting to document what I did, not to serve as any kind of authoritative guide. Follow these steps at your own risk.
Tools I used (with potential improvements if I were to do it again):
Removal of junkyard rear windshield:
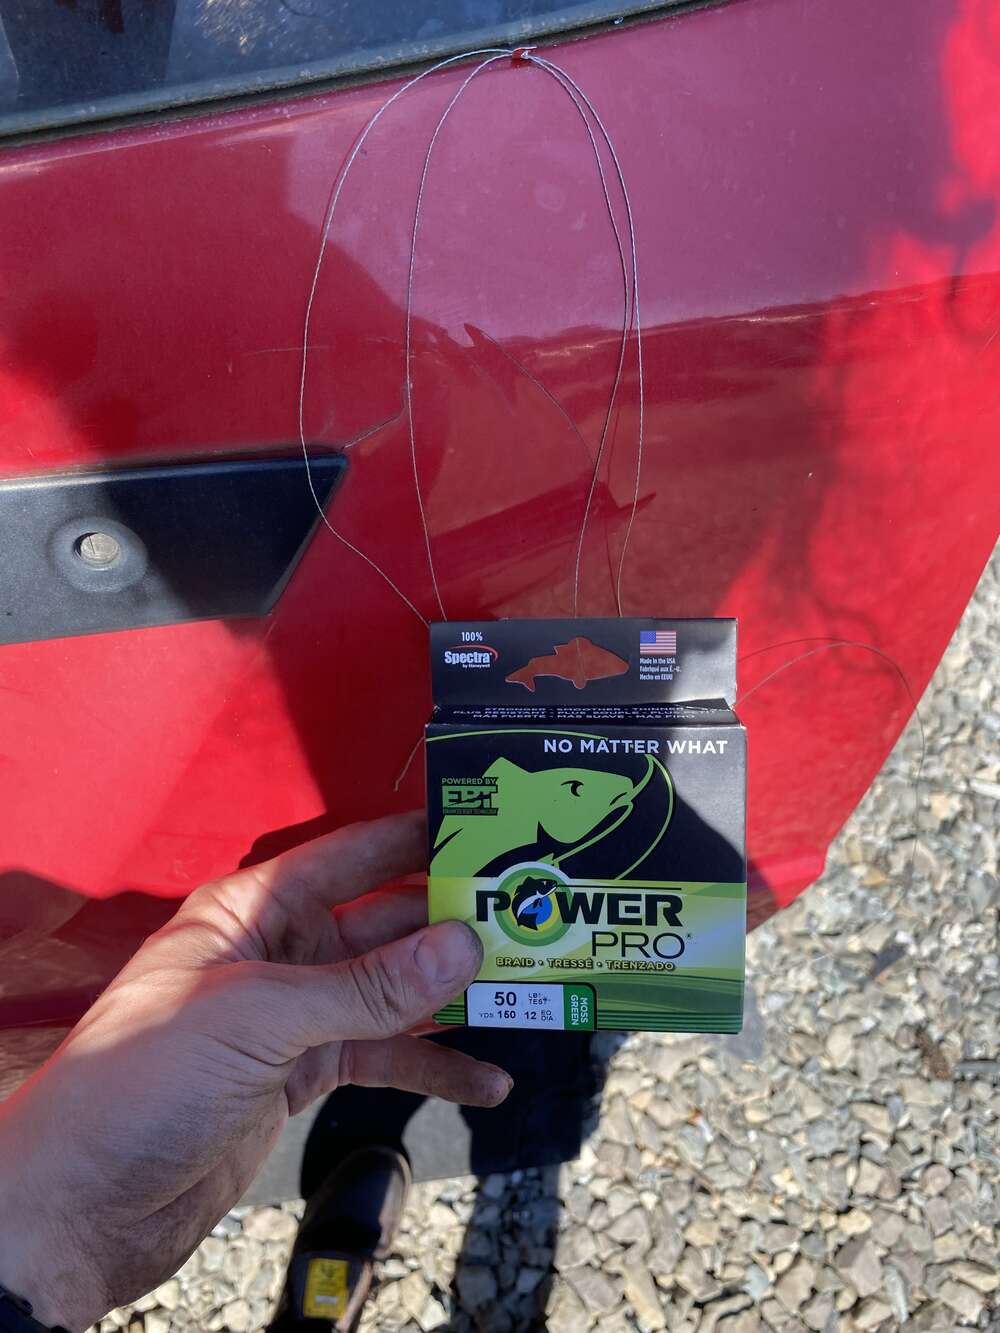
- 50 lb Spectra braided fishing line (Power Pro brand). Recommendation: use at least 100 lb, maybe more, as mine kept getting worn through and breaking. I used this to cut the urethane from around the junkyard windshield. I looked at various urethane cutting knives and metal cutout wires but none of them seemed like they would be able to get around the tight curves and tiny clearances of the window without damaging it. There’s also commercially available windshield cutout line, which as far as I can tell is probably just 0.9mm 300lb Spectra line (maybe with some kind of abrasion resistant coating?) but it was much more expensive and didn’t seem to come in lengths of less than 300ft so I figured I’d only resort to that if the fishing line didn’t work.
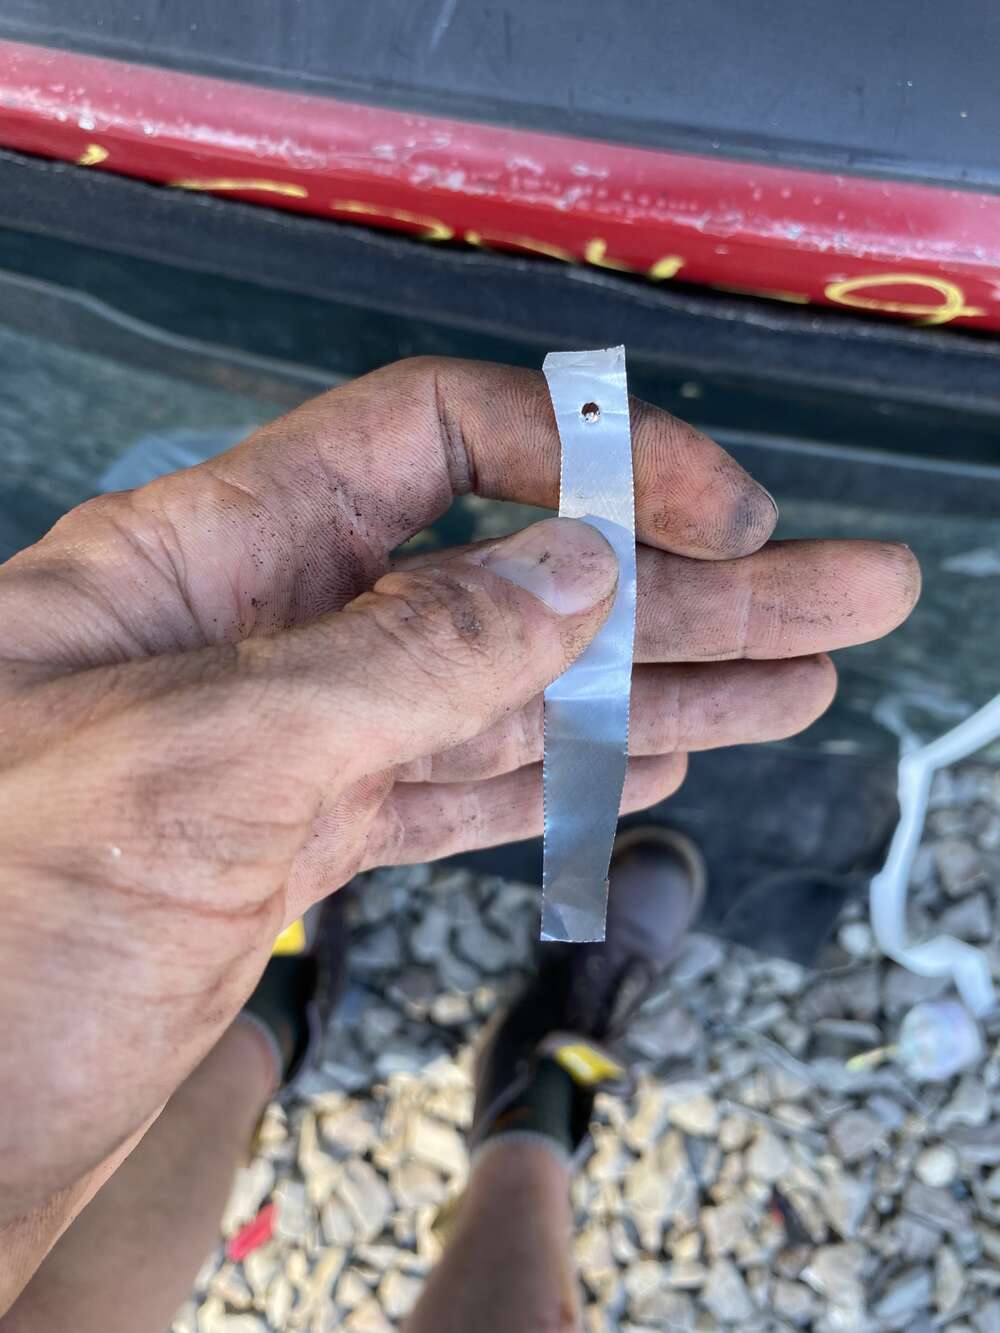
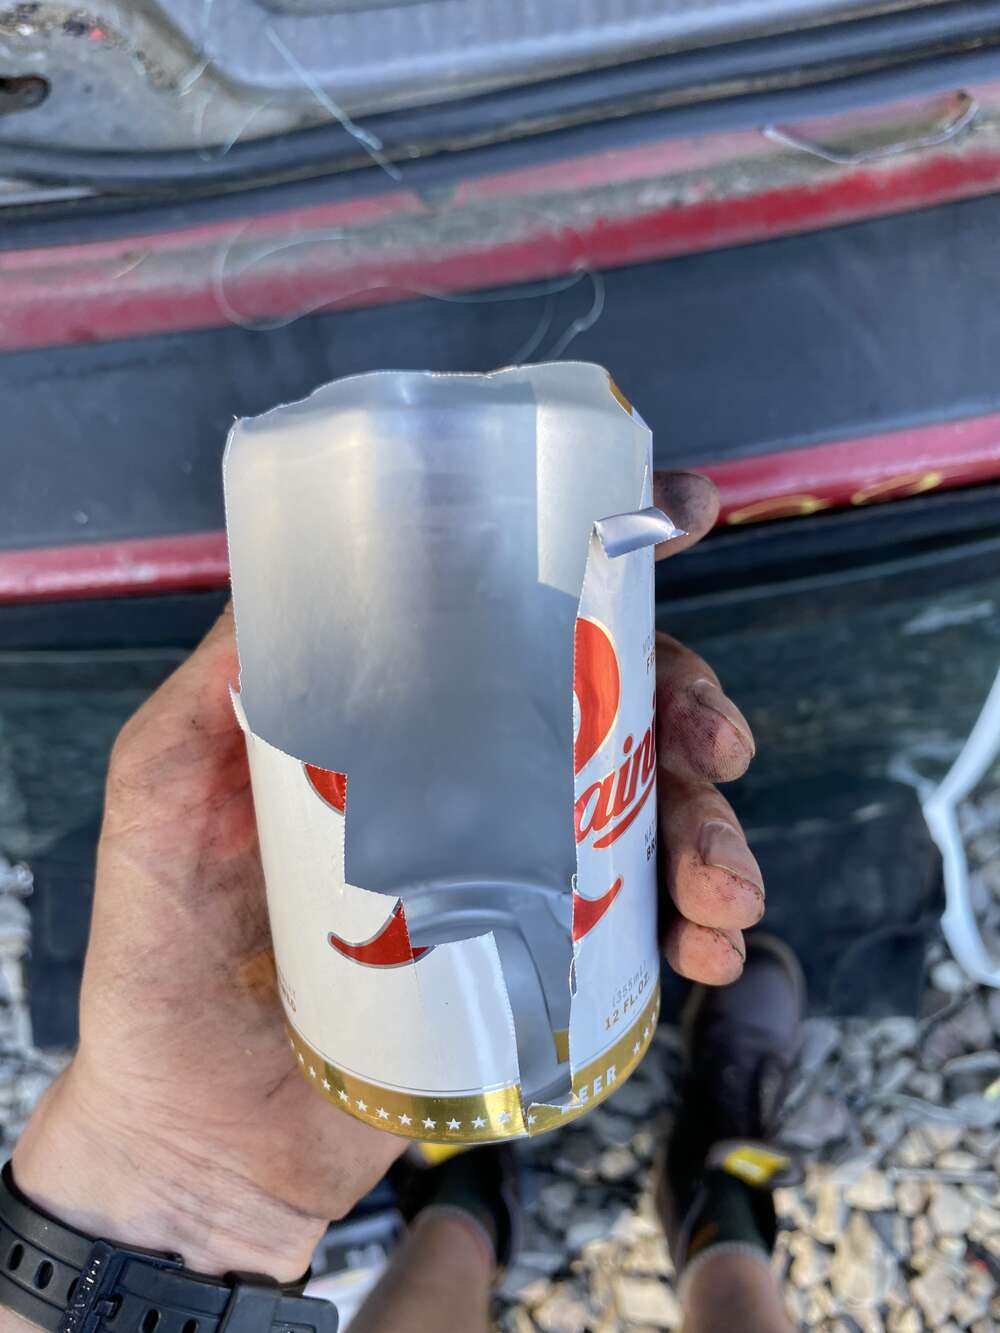
- Aluminum strips cut from a soda can with a hole poked in one end. I used these to thread the fishing line through the windshield urethane through a slit I’d cut with a box cutter. I found that lubricating the strips with some spit made it much easier to slide them through. I’d originally tried using a sewing needle, however there’s a metal lip at the bottom of my windshield which the needle wasn’t able to get around, whereas the flexible aluminum strips were able to just bend around (although I did have to use a pick to help get them around the last bit without getting stuck).
- Box cutter. Used for cutting the slits throught the urethane at the bottom of the window to get the aluminum strips through.
- Aviation snips/scissors. I used these for cutting the aluminum strips mostly because I had them lying around, scissors would definitely work too (although they might get dulled).
- A couple pairs of pliars/tools to wrap the fishing line around so I could hold it while cutting. I think I used one pair of pliars and a screwdriver, both of which ended up with some shallow cuts from the fishing line. This is definitely another part of the process that could be improved.
- Razor blade scraper to remove the remaining urethane from the inside of the window. Had to be careful to not scratch the paint off too.
Removal of remaining glass and urethane on my car:
- Shop vac. There was a ton of glass shards everywhere that I had to clean up.
- Plastic chisel/scraper. I used a wimpy plastic scraper I got from the paint section of Lowes which I would NOT recommend. It was extremely flimsy, hard to hit with a hammer, and kept breaking into smaller and smaller pieces. I would recommend some kind of burlier nylon scraper which won’t fall apart and won’t flex when hitting it with a hammer. There were also several instances of the urethane pulling off pieces of my car’s paint which I ended up covering up with primer later.
- Hammer. For hitting the chisel/scraper. I used a normal hammer although a plastic mallet might work better/be less likely to damage your car when you miss.
- Razor blade scraper to tidy up the remaining urethane. I tried to cut it down to a thin, smooth layer as I read that urethane adheres well to freshly cut existing urethane.
Gluing in replacement windshield:
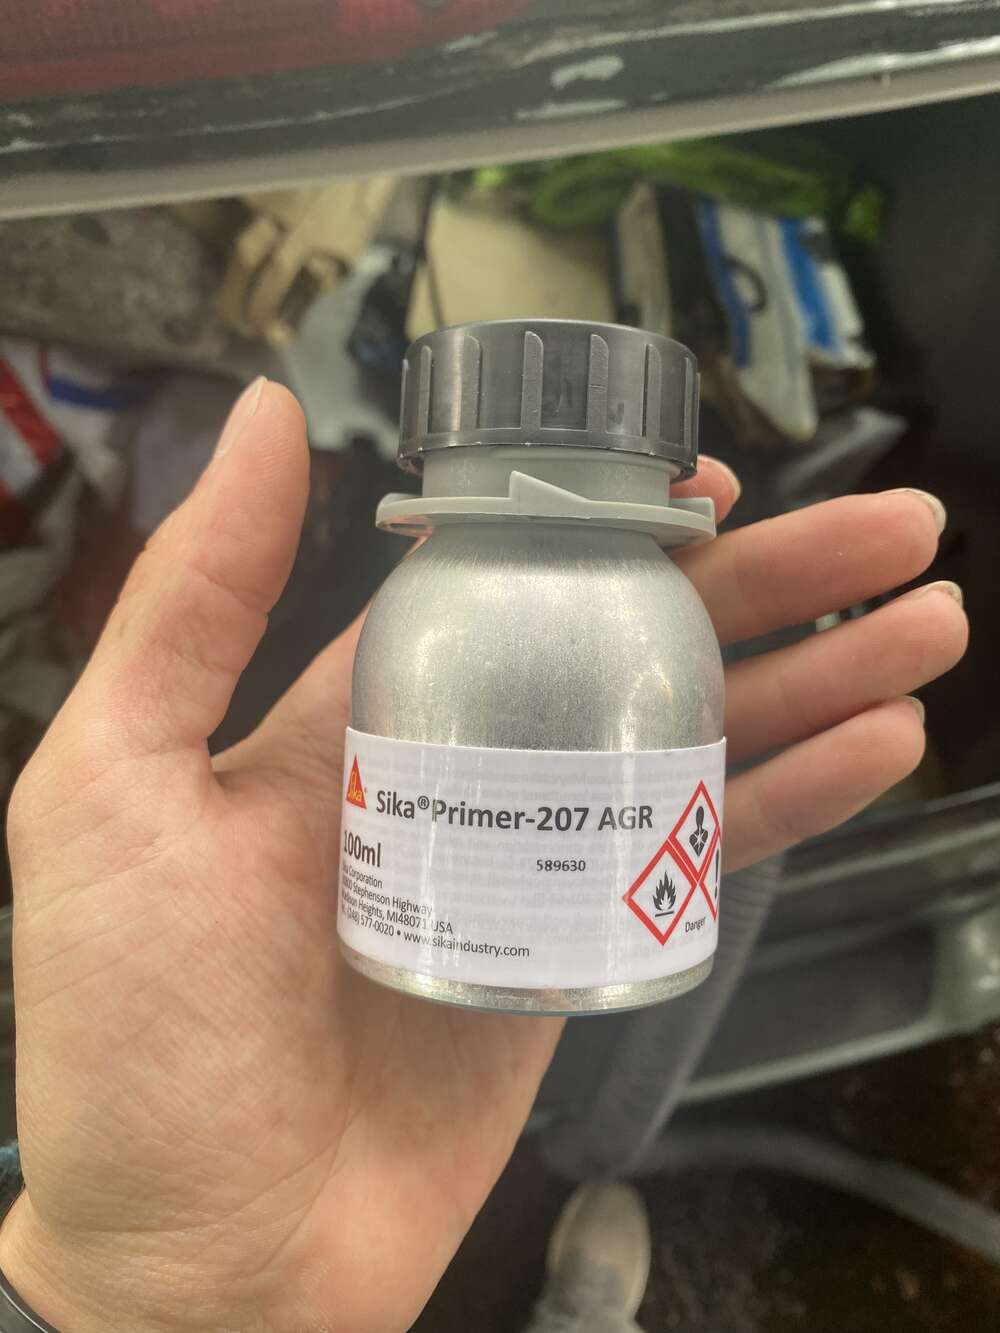
- Sika Primer-207 AGR. The primer I used on my car frame to cover up any potential scratches or missing paint. I also covered places where I thought the urethane might adhere that wasn’t already covered by the pre-existing thin layer of remaining urethane. I did not paint over the existing thin layer of remaing urethane. I only used this primer as it’s the one my friend already had, I’m sure other auto glass urethane primers would work well too. Read the data sheet/instructions, they’re in depth and useful!
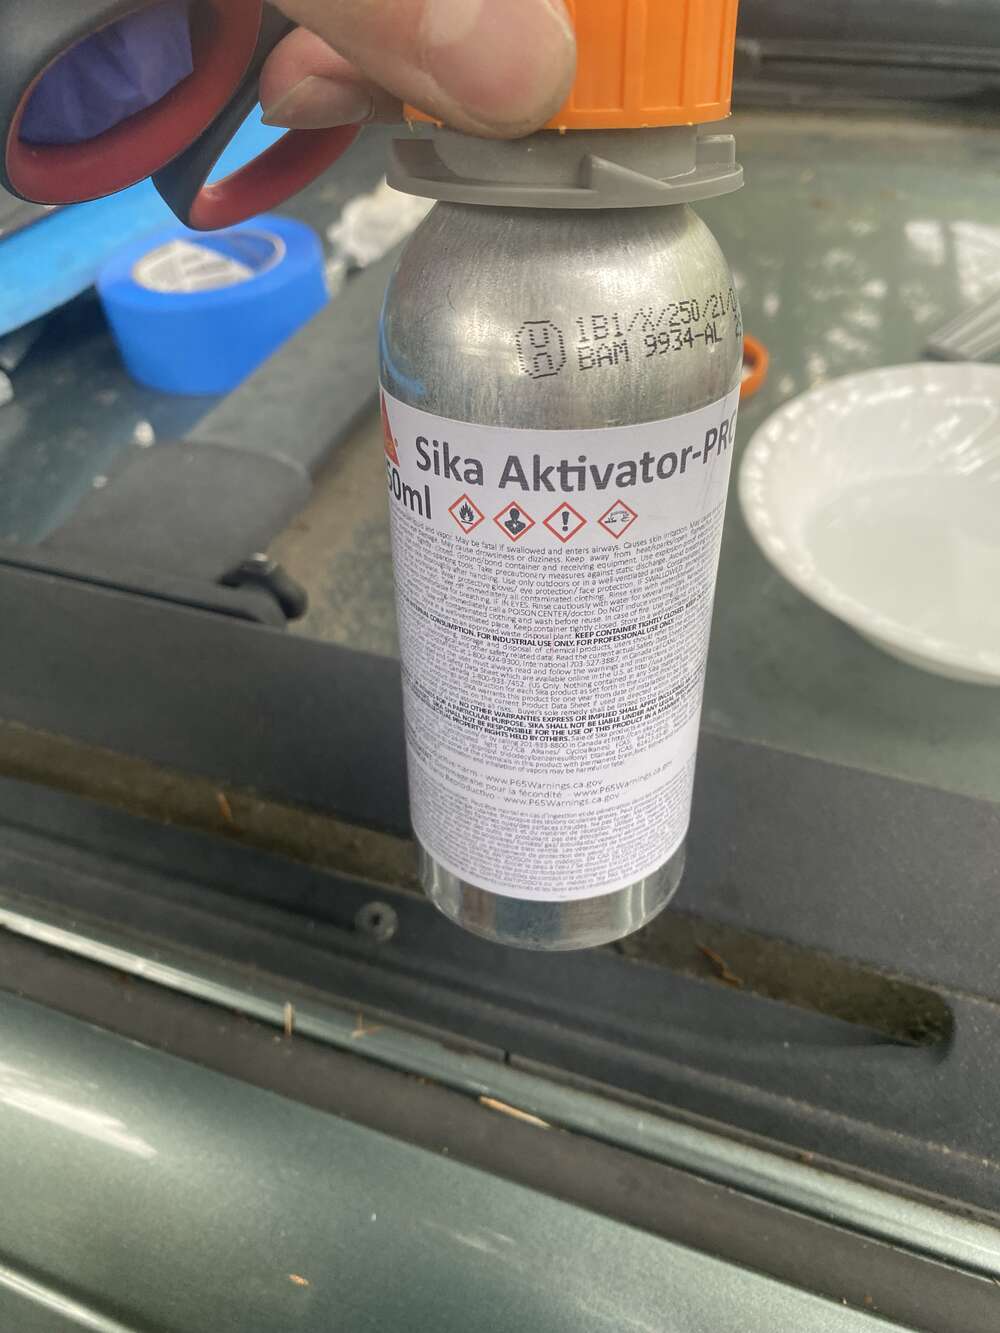
- Sika Aktivator-PRO. I used this to wipe down the inside of my windshield where the urethane would be adhering. Apparently it promotes urethane adhesion in certain scenarios. I only used this activator as my friend also already had it. Read the data sheet/instructions, they’re in depth and useful!
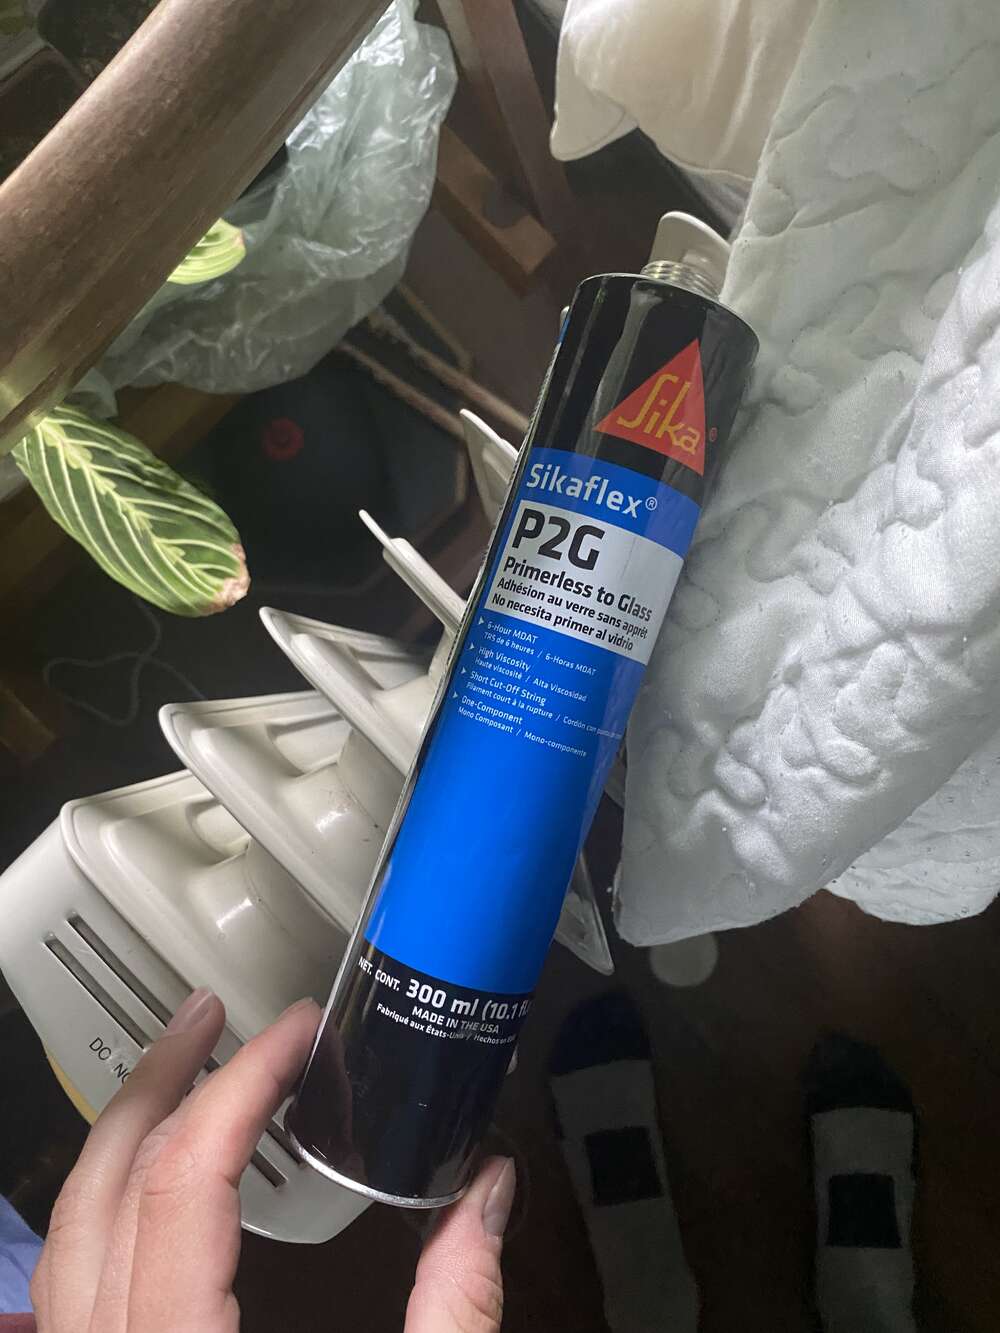
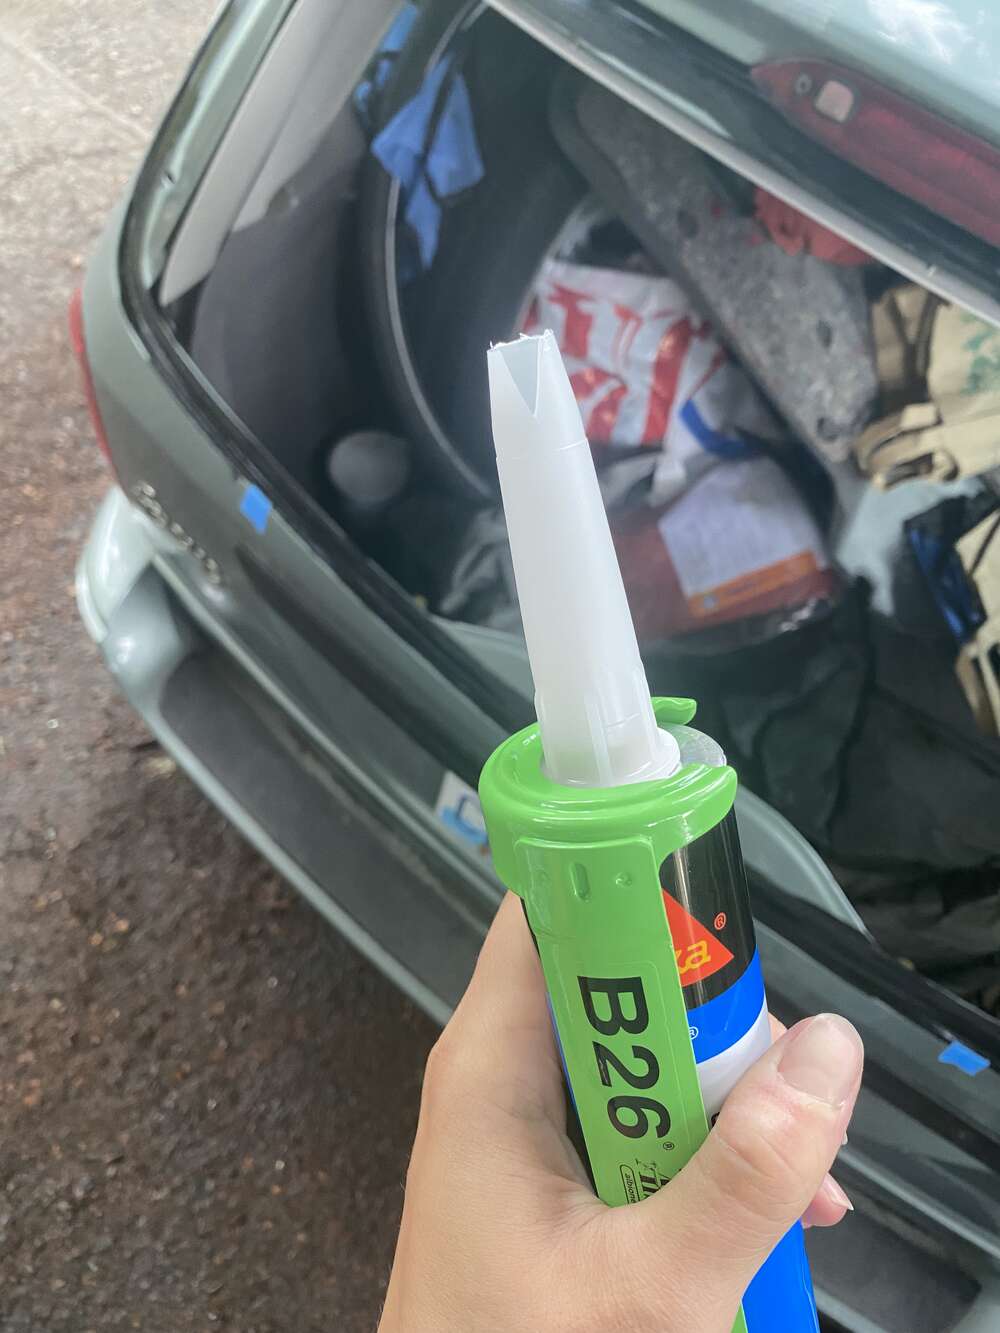
- Sika Sikaflex P2G Primerless to Glass urethane adhesive. The urethane I used to glue in my windshield. This was recommended by my friend’s coworkers and was available pretty cheaply on Amazon. I ended up buying a box of two tubes but only used one (one tube was pretty much perfect, I ended up with only a little bit left). The tubes came with plastic tips with recommended cutting shapes embossed on them. I cut the tips to match the recommended shape and it worked well for me. Read the data sheet/instructions, they’re in depth and useful!
- 16:1 Caulk Gun. The urethane was very thick and having a caulk gun with a high thrust ratio made it a lot easier to dispense.
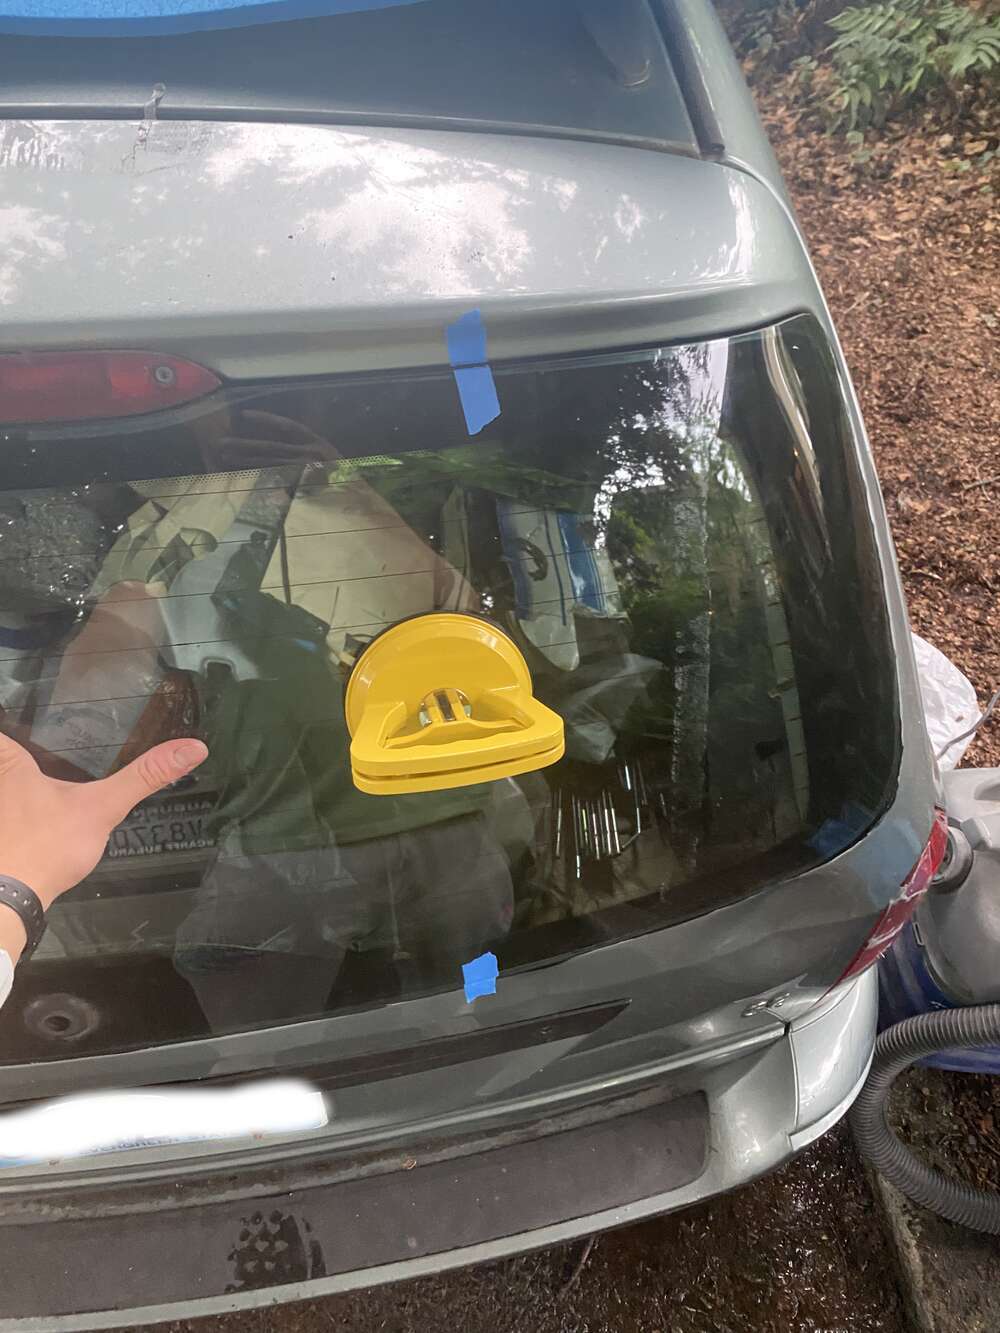
- Glass suction cups. This made it much easier to handle the window when placing it on the glue.
Steps I followed (with photos and descriptions):
Removal of junkyard rear windshield:
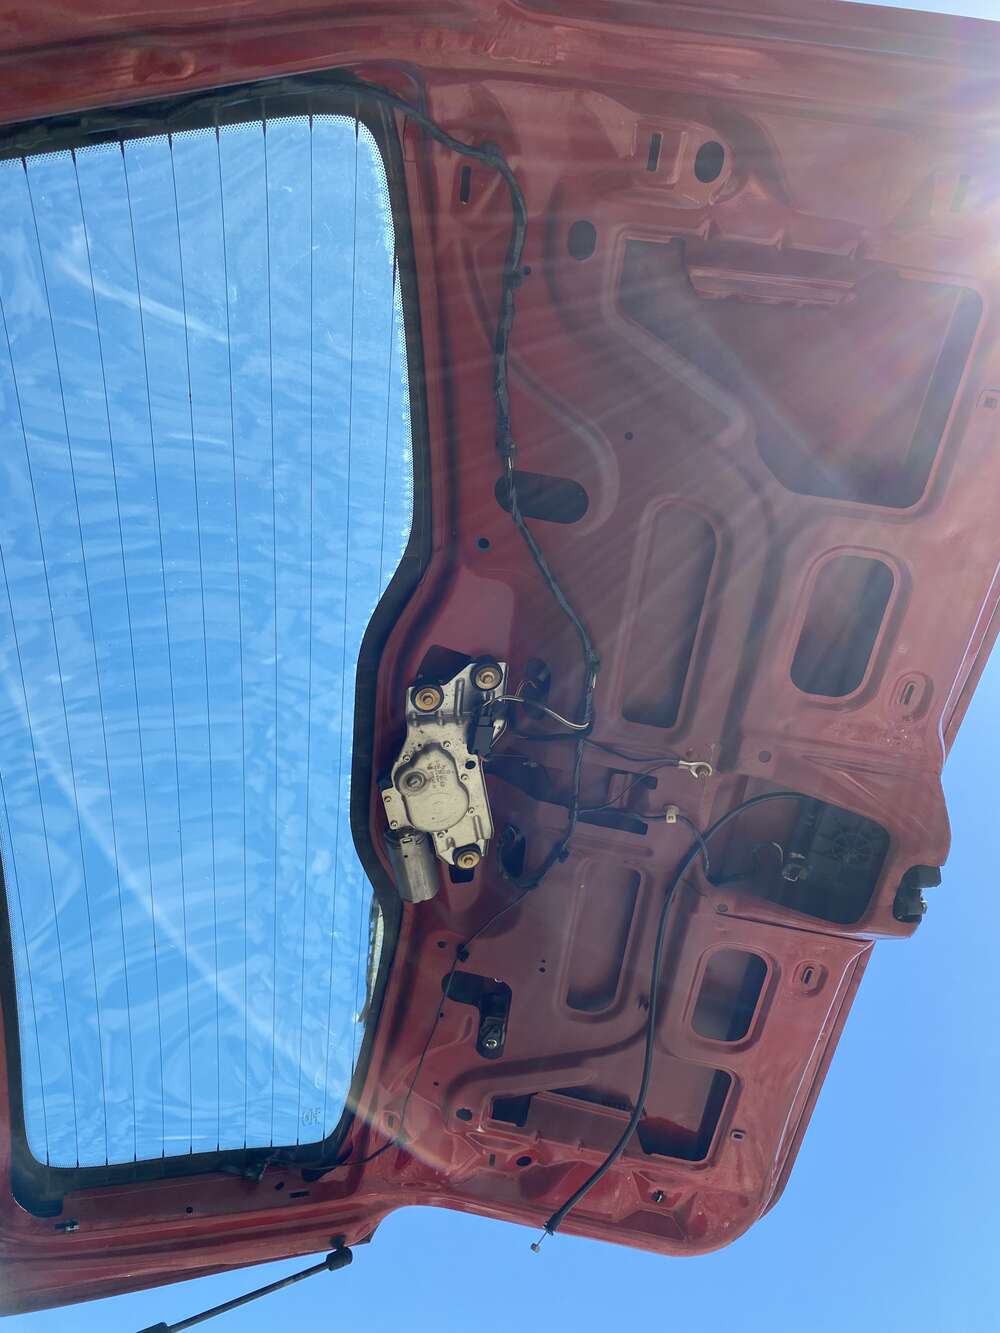
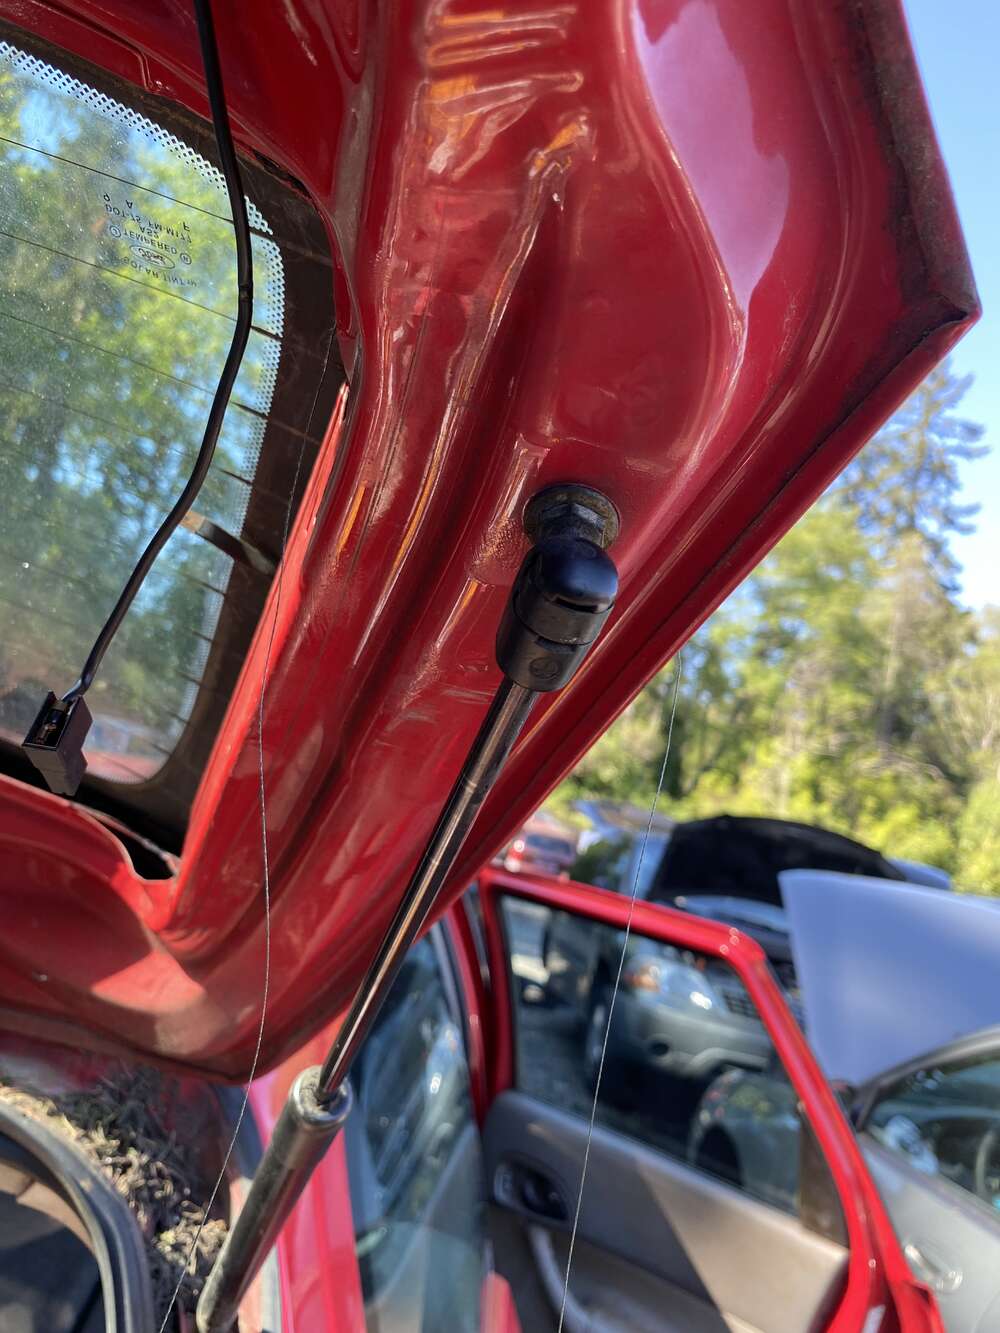
Removed plastic panels from inside of trunk door. There were a couple screws and a couple of plastic fasteners that required some careful maneuvering to disconnect without breaking. Although I guess this was a junkyard car so some broken fasteners would be ok.

Cut slit through urethane adhesive using box cutter from inside the car, bottom corner of the window. No particular reason for cutting there other than that it was one of the few places were the urethane was easily accessible.
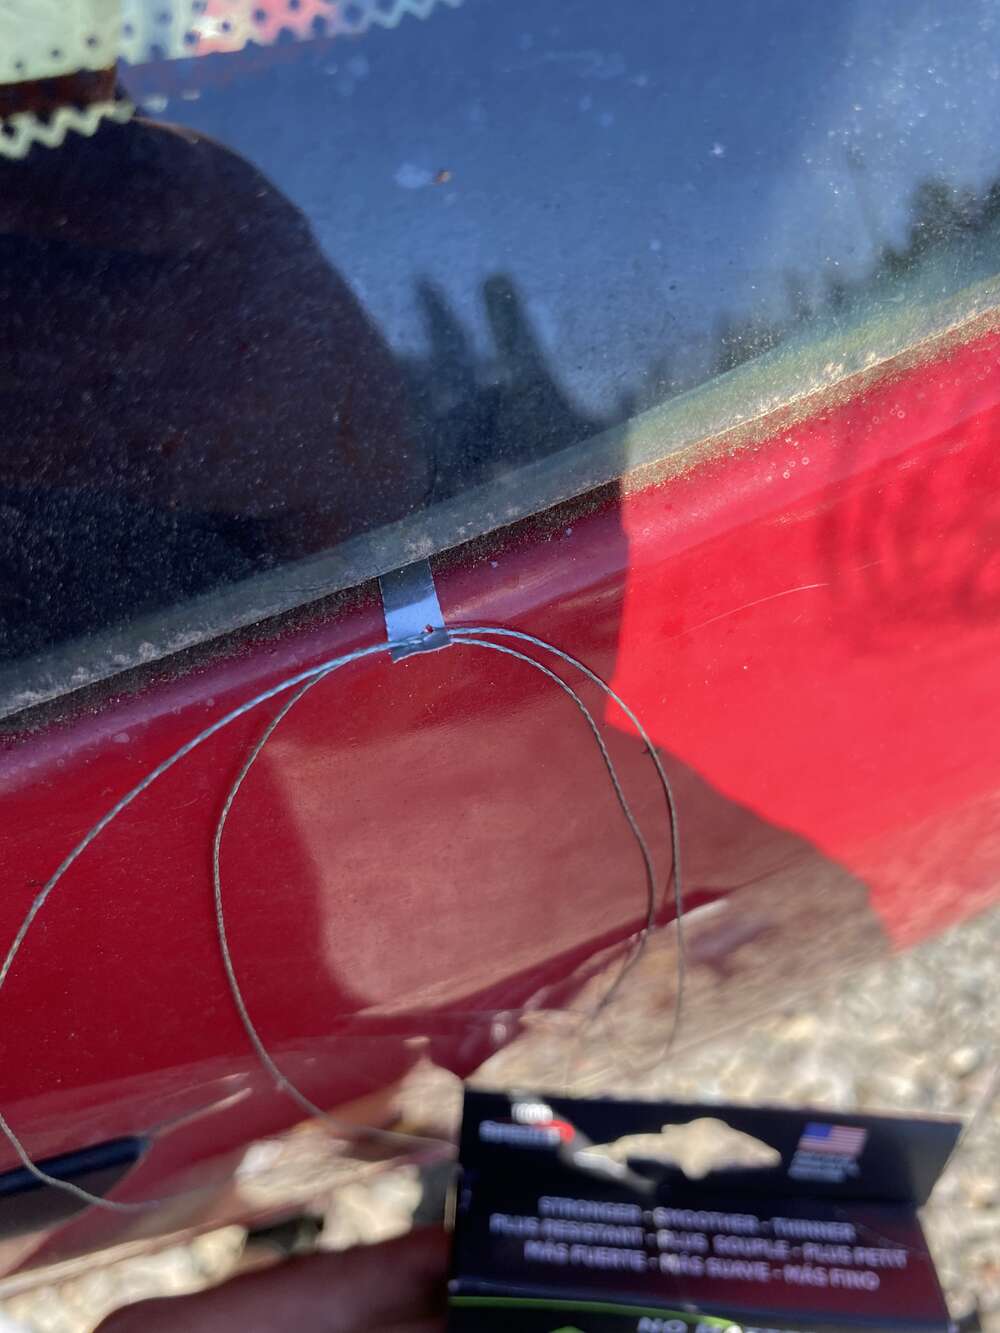
Threaded braided Spectra fishing line through hole in aluminum can strip (see the Tools I used section above for more info on these).
Lubricated the aluminum strip with some spit and slid it through the slit I’d cut out with the box cutter. I messed this up a bunch of times and bent a bunch of aluminum strips, and once a strip was bent it was no longer able to apply any force so I ended up cutting a bunch of strips. Originally I’d tried sliding them through without any kind of lubrication but this didn’t really work. Spit worked for me, I’m sure some other kind of lubricant might work even better!
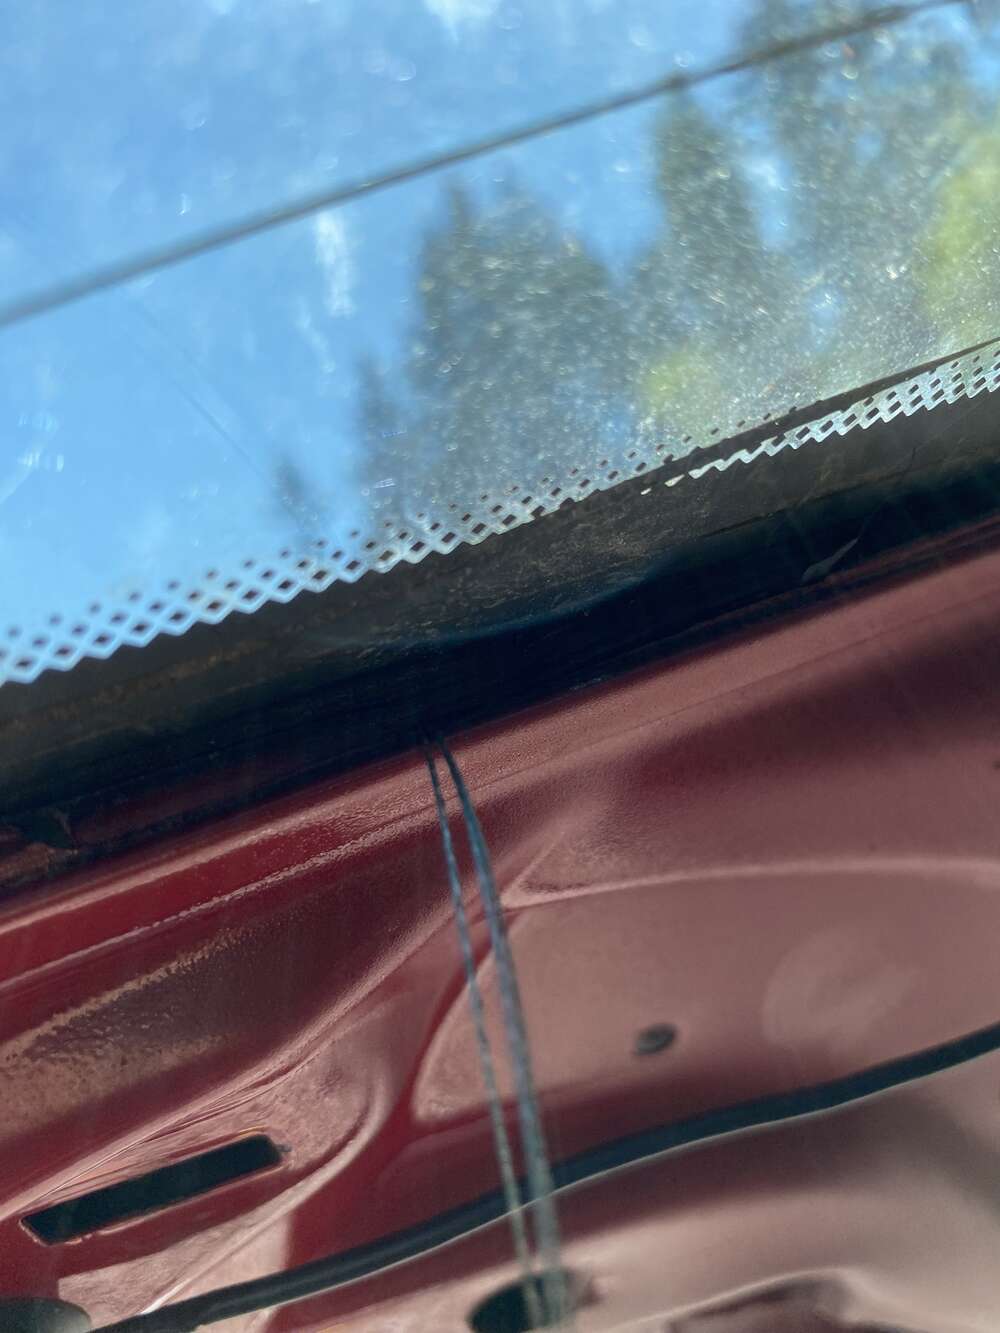
Fished the aluminum strip out from the other side of the window and pulled it through. I used a sewing pin to guide the aluminum strip out past the lip below the window. Now I had the fishing line threaded through the urethane!
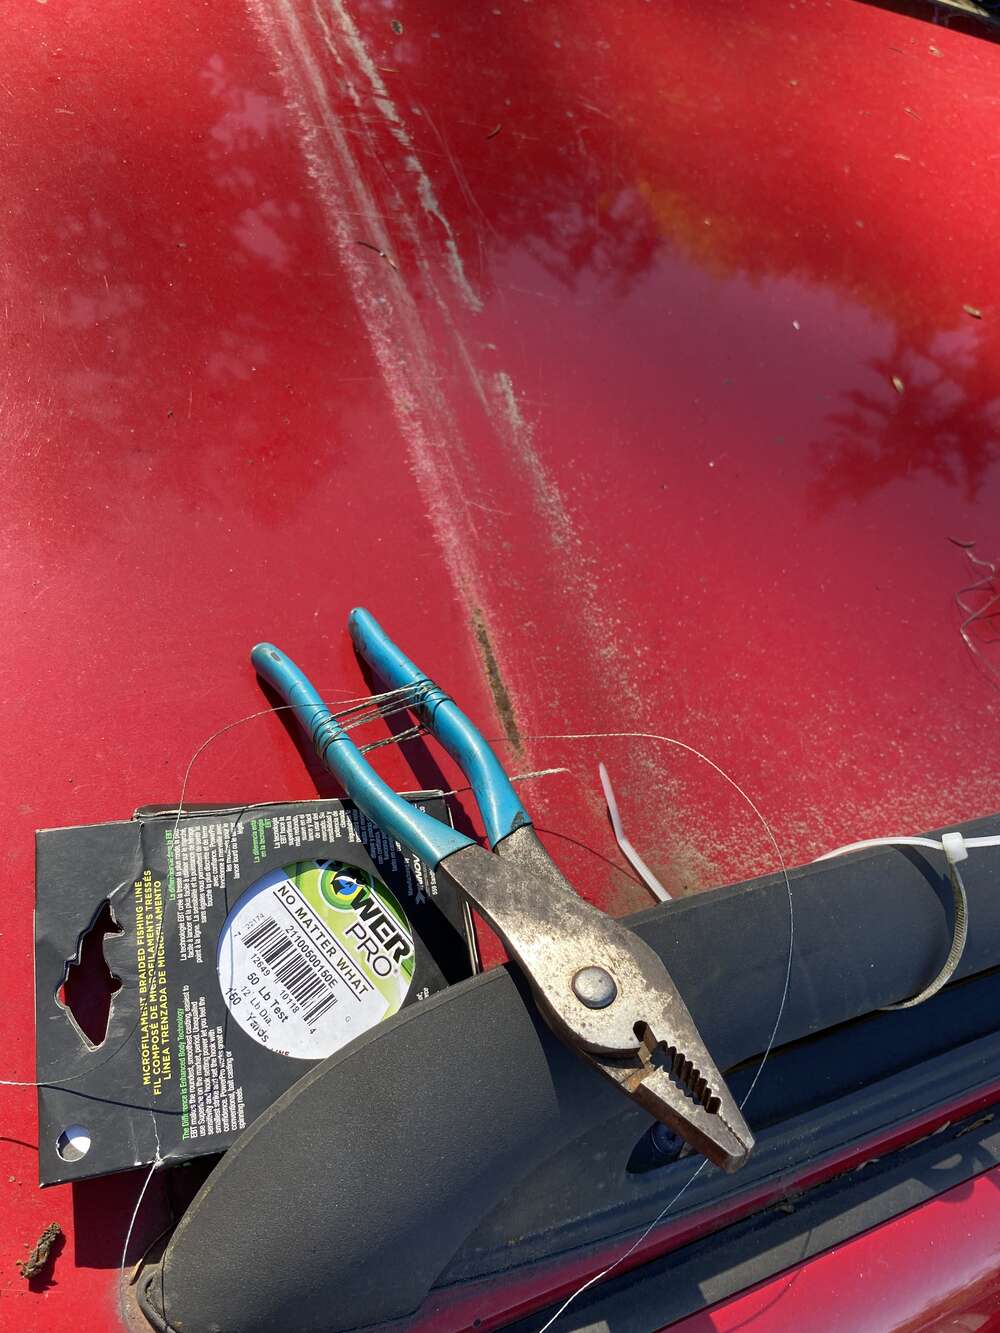
Wrapped each end of the fishing line around a tool so I could hold it and apply force without cutting myself. I wrapped one end around the handle of some pliars and the other end around a screwdriver. The rubber/plastic on the tools ended up full of grooves from the fishing line. Oh well, they were sacrificed for the greater good…
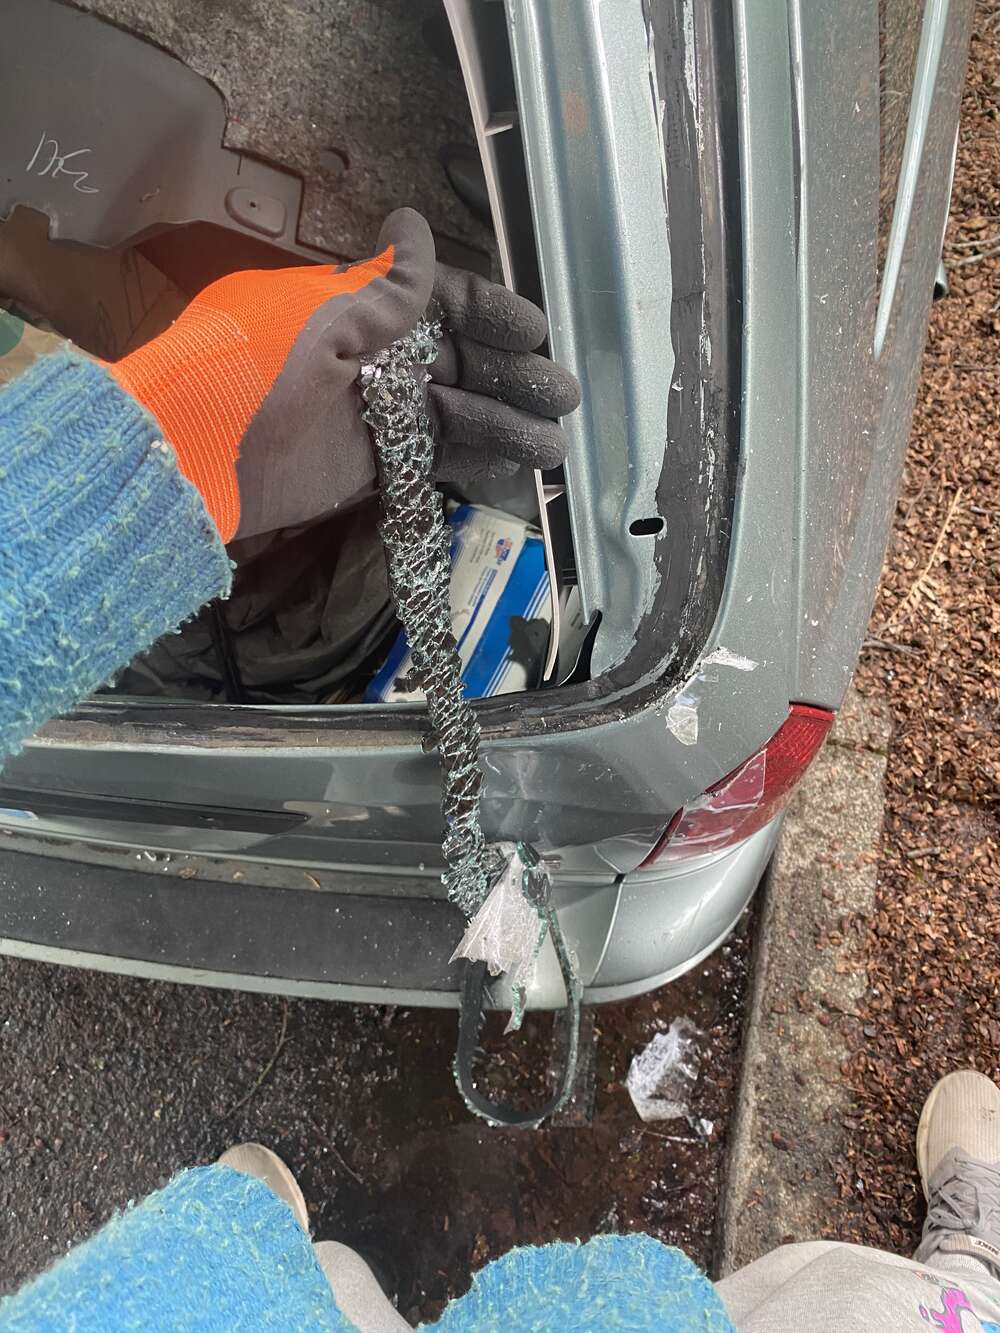
With one hand inside and my other hand outside, I pulled on each end of the fishing line (via the tool it was wrapped around) to slice through the urethane adhesive. I pulled the line back and forth a bit in a sawing motion which helped cut. The line broke/snapped/tore more times than I can count, and I was continuously having to rethread new pieces of fishing line. I think just having to constantly rethread was the most time consuming part of removing the windshield. Some thicker/stronger line would have probably improved this process.
I disconnected the connectors for the window defrosting heating elements.
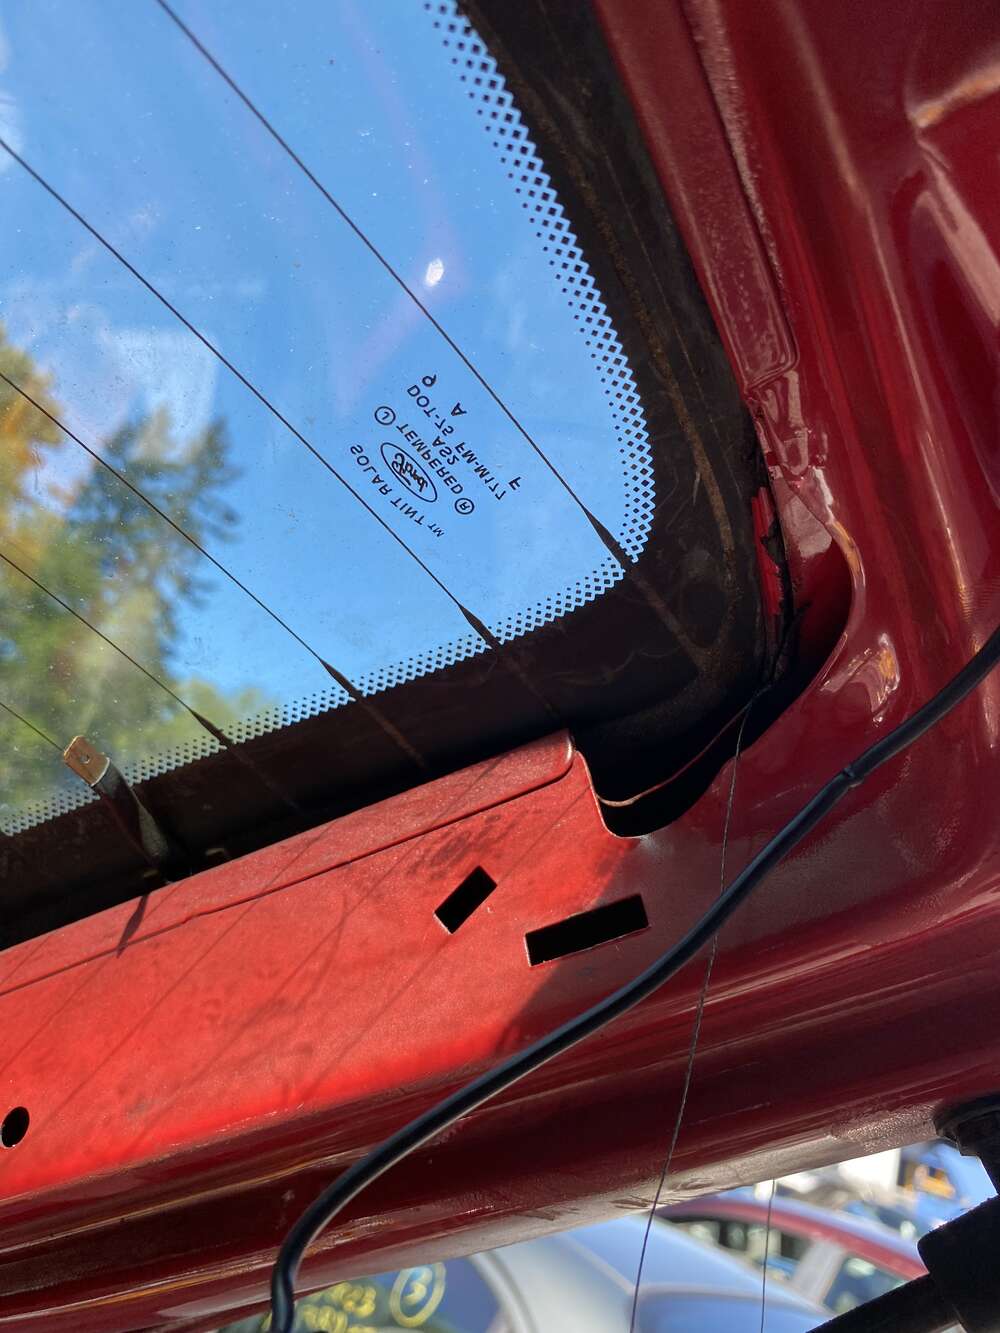
There were some awkward metal edges along the inside of the window which kept tearing my line which took me a while to notice. I had to guide the fishing line behind these edges using my credit card.
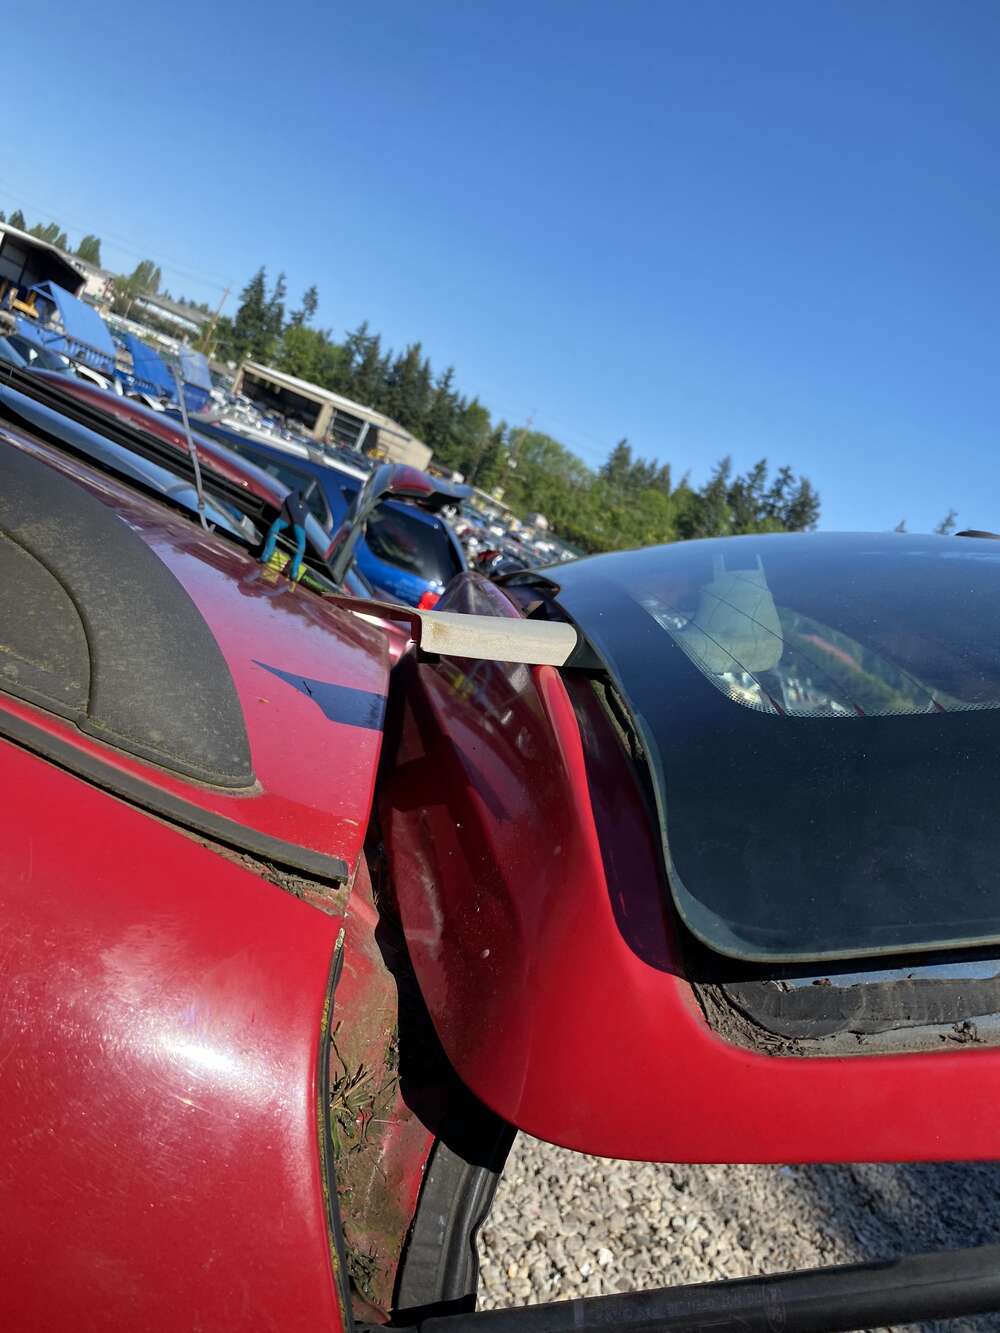
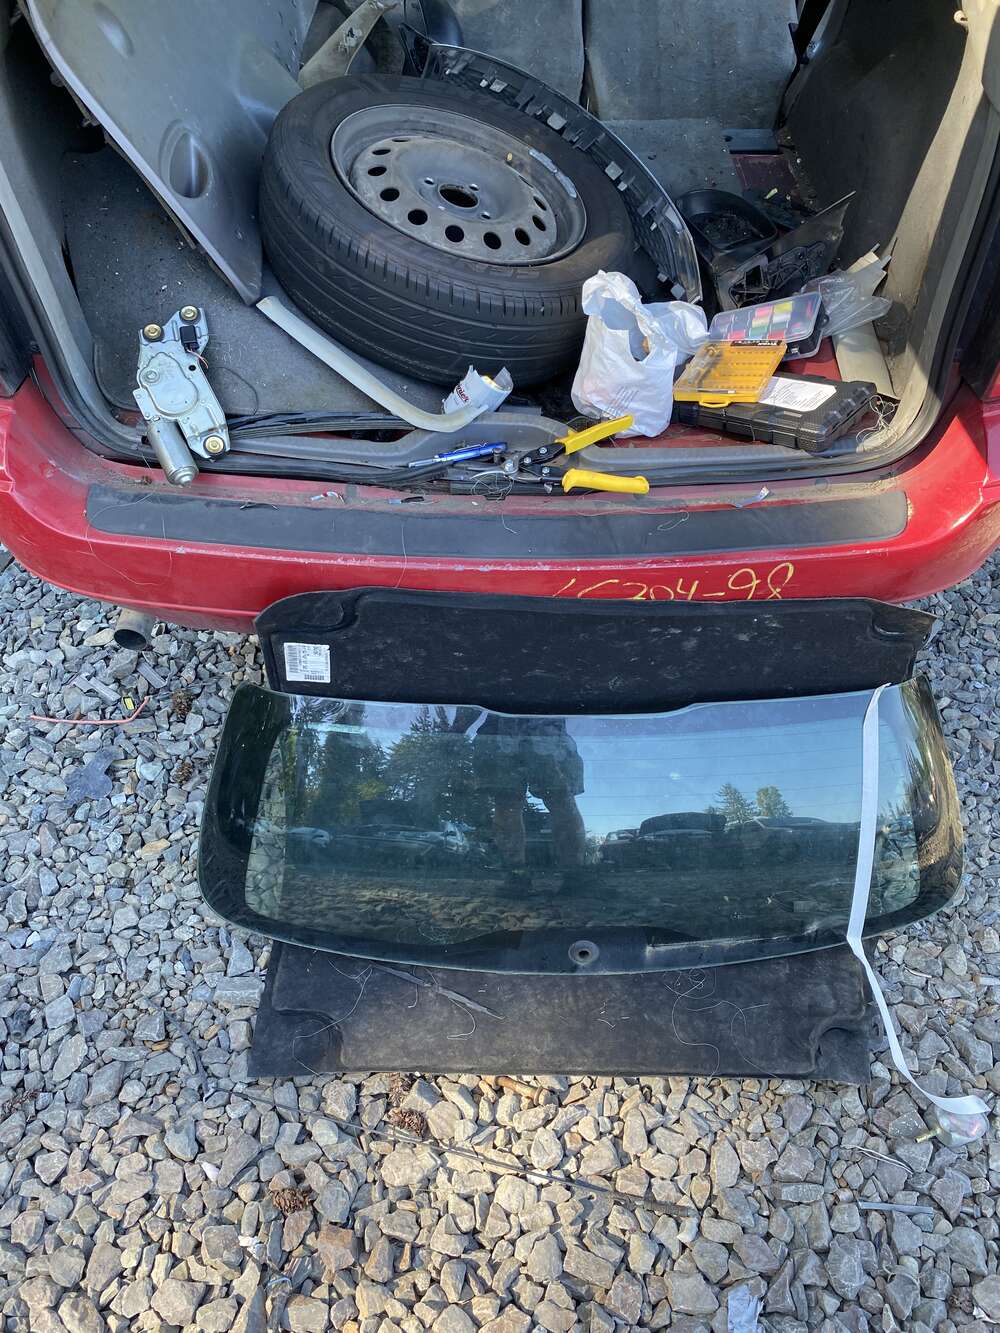
This process took several hours and was a massive pain in the ass. There were several points where progress seemed to stop and the fishing line just kept snapping. I’d switch to trying to cut in the other direction, or double check that the line wasn’t getting caught on any metal lips. In the end, after a lot of sweat and blood and tears, the windshield was free! Carrying it out from the junkyard and transporting it back home were terrifying as I was afraid I’d break the window and have to start over again.
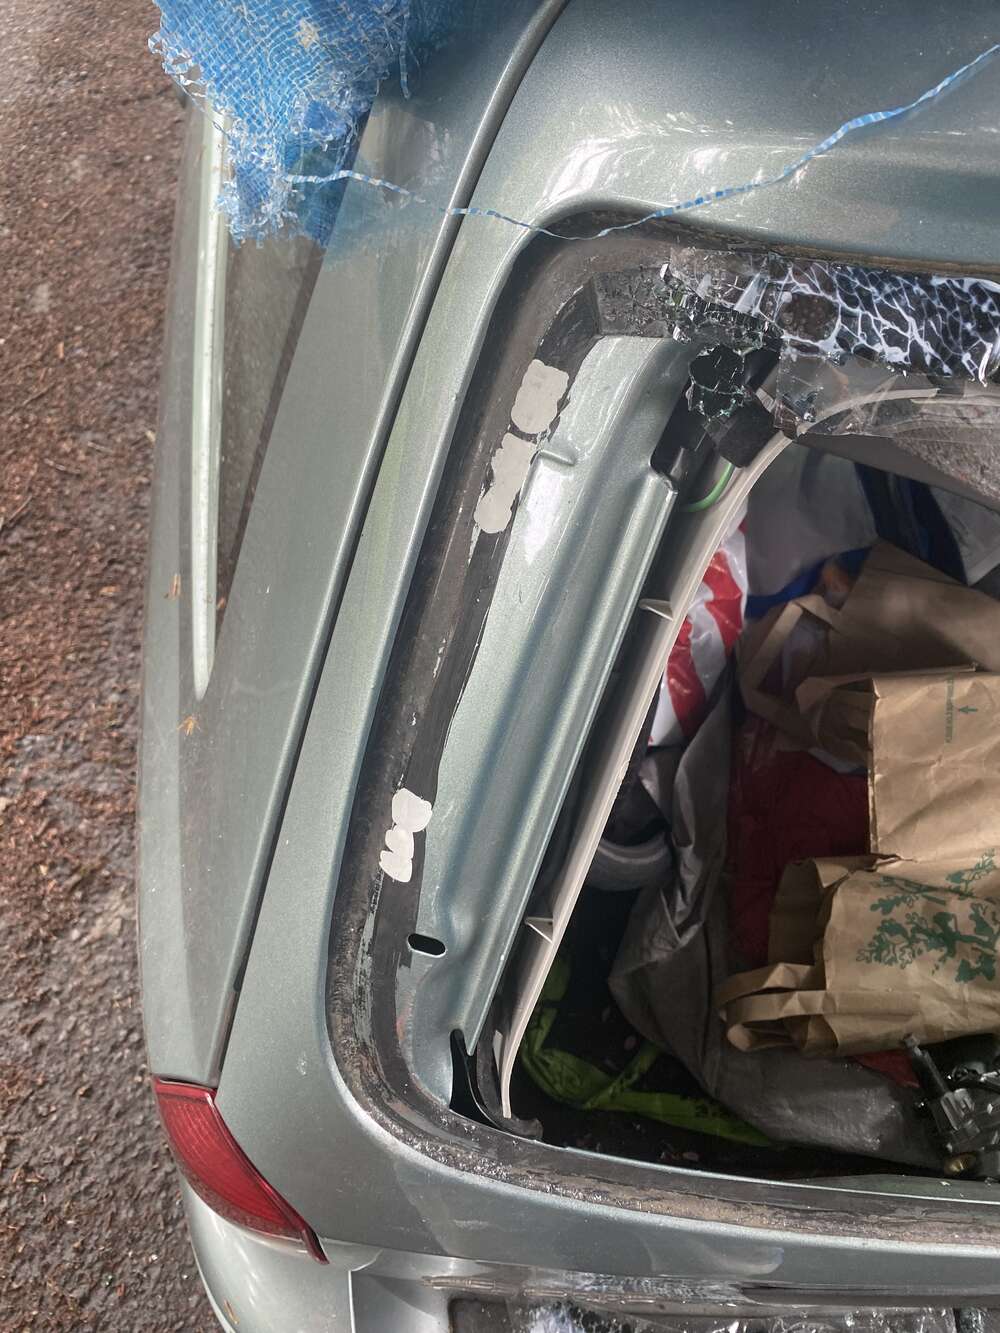
Removal of remaining glass and urethane on my car:
This part also took a really long time, and again this could have been avoided if I had just bought better tools. Do NOT do what I did and use a wimpy little plastic paint scraper. Get some heavy duty nylon chisel. I avoided using anything metal as I didn’t want to scratch my car’s paint.
I pulled off some of the glass fragments with pliars so I had enough access to the underlying urethane to get my scraper under it, then hit my scraper with a hammer. Then continued to hit it for several hours as my plastic scraper slowly broke into pieces and disintegrated before my eyes. So please please please use something heavier duty that is meant to be hammered but still won’t scratch your paint.
I also noticed that it was easier to cut through the urethane if the glass on top of it was more broken/loose, so I wacked it with a hammer/pried it up with a screwdriver (wrapped in electrical tape to hopefully avoid scuffing my paint).
I did end up pulling up a bunch of fragments of my car’s paint, so I covered these with primer in the next step. I applied the primer with a very heavy hand as I was scared I’d miss a scratch and my hard work would be ruined by rust.
I trimmed down the remaining urethane to a thin layer using the razor blade scraper.
Gluing in replacement windshield:
I washed the inside and outside of the replacement windshield with a hose and some dish detergent. It was really dirty. I scrubbed it with paper towels until they came back clean.
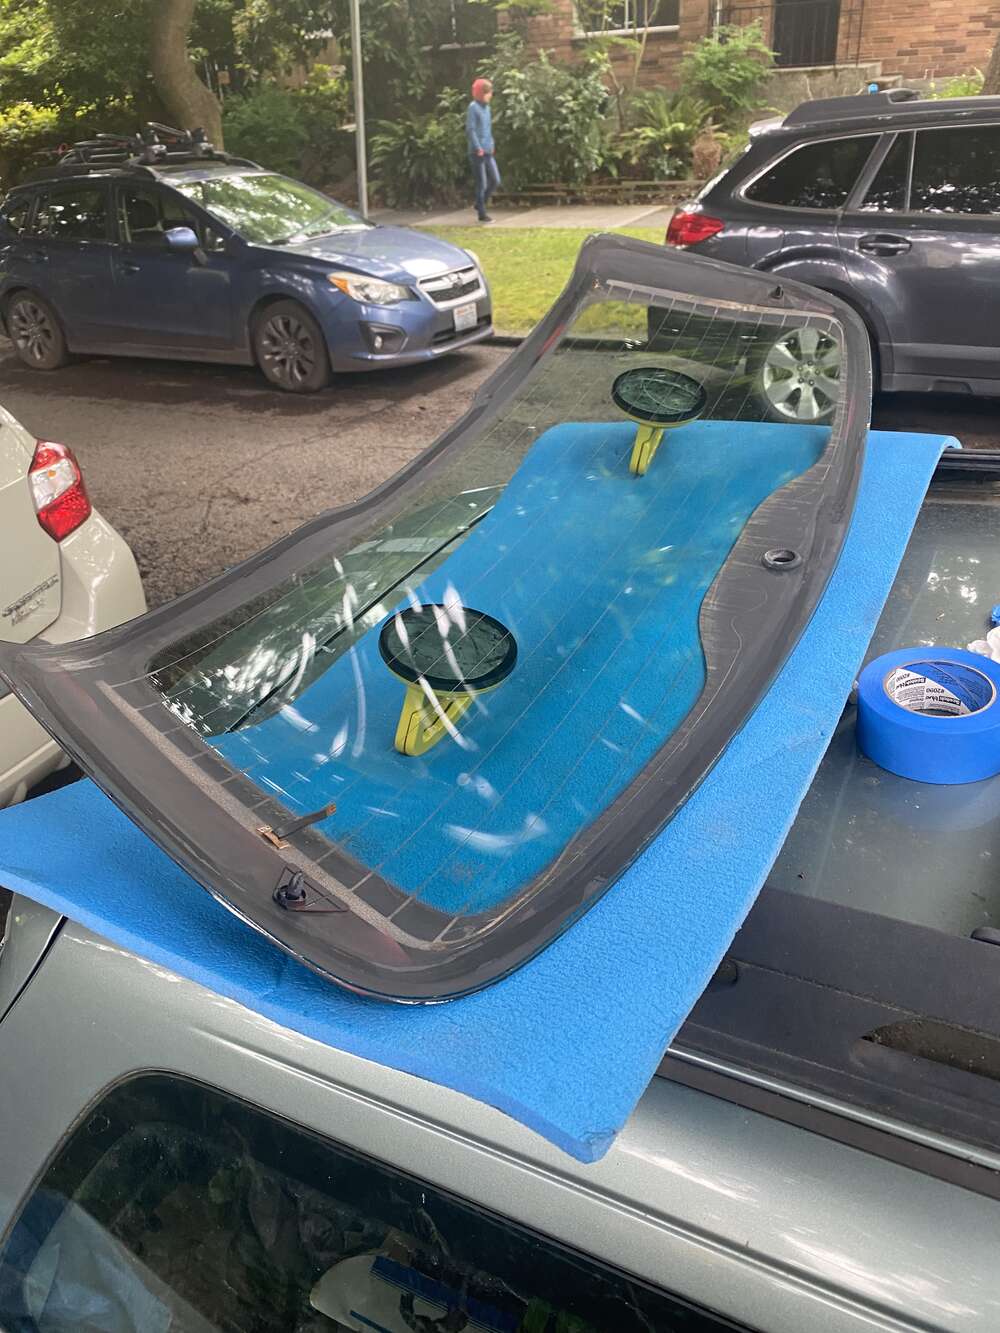
I scraped off the remaining urethane on the inside of the replacement windshield with the razor blade scraper. I had to be careful to avoid scraping off the paint on the inside of the window too. I scraped off a little by accident. Whatever.
I washed the area on my trunk door where the window would be getting glued, first with water and dish detergent, then just water, and then waited for it to dry. Paper towels left a lot of lint, maybe shop towels would work better?


I practiced placing the window on the frame where it would be getting glued a few times, just to make sure I knew exactly where it was going and so I wouldn’t screw it up when there was glue involved. I placed a four pieces of tape, two on the top of the window and two of the bottom on each side, so that I would have some guides for how the window should be aligned. I placed the tape between the window and frame, then cut along the gap with my box cutter.
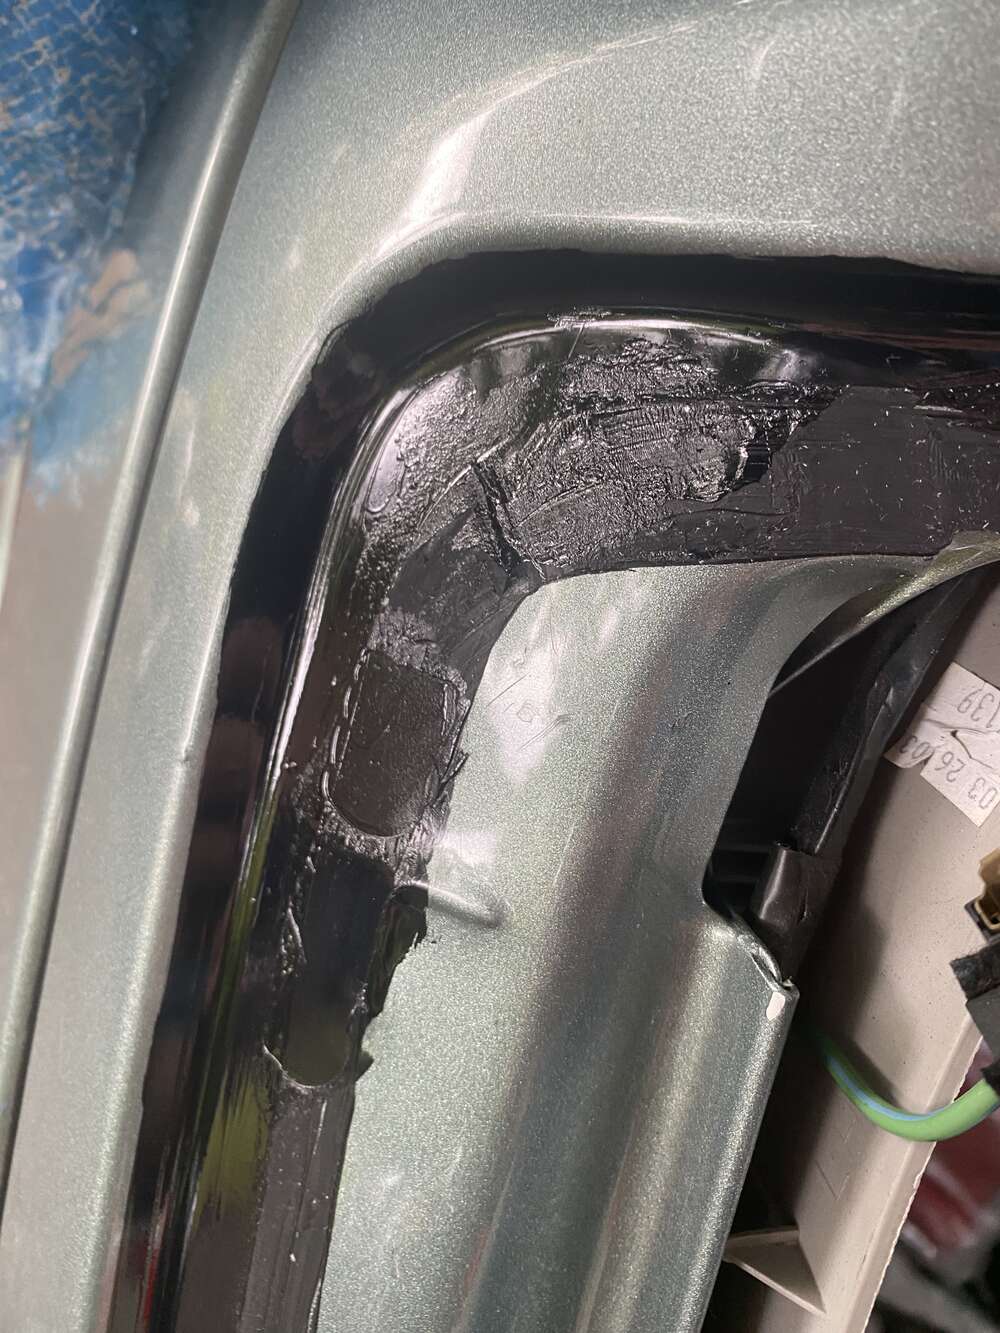
I applied my urethane primer (Sika Primer-207 AGR) over any scratches I’d made on my trunk door (as well as over the several large spots where I’d just pulled off the paint) and anywhere I though urethane might adhere that wasn’t already covered with a thin layer of urethane. I did NOT apply the primer on the window/glass itself, just the door.
I applied my activator (Sika Aktivator-PRO) along the inside of the window where the urethane would be adhering.
Warmed up my auto glass urethane (Sika Sikaflex P2G) a bit on my radiator until it was slightly warm to the touch so it would dispense more easily.

Cut out the plastic tip of the urethane tube along the embossed lines. Essentially a circle with a triangle. See pictures.
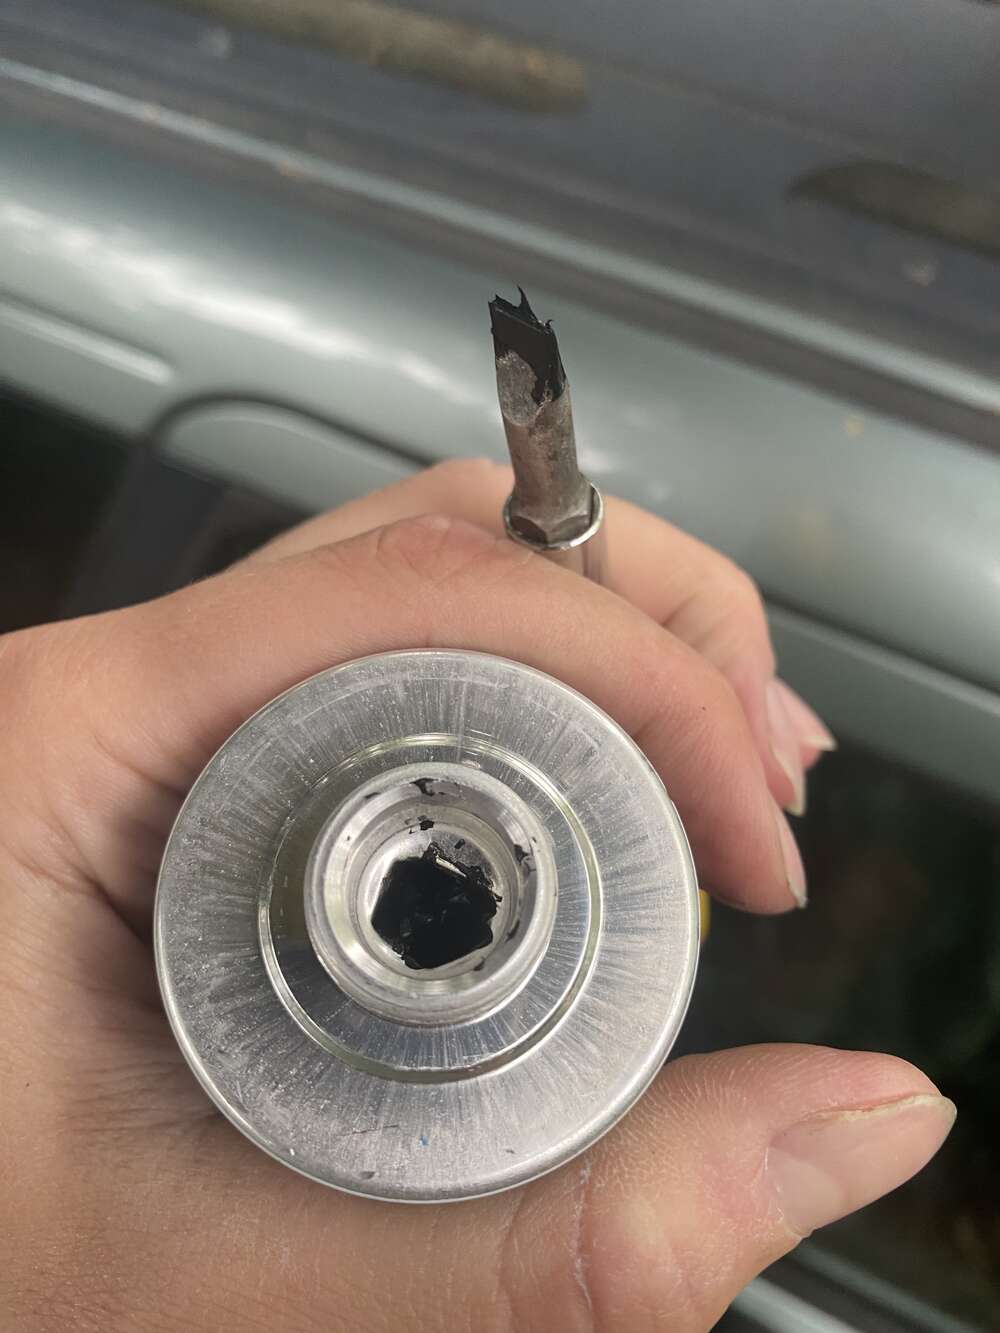
Poked hole in end of urethane tube.
Dispensed urethane by keeping tip perpendicular to the surface and pressing with a bit of force while slowly dispensing and moving forward. The triangle cut out from the tip trailed behind, extruding a tall triangle of urethane facing out from the window. Required a bit of practice to get the speed and rate of dispensing right. Urethane was very thick, so the triangle stayed straight even though the window frame was at a steep angle.
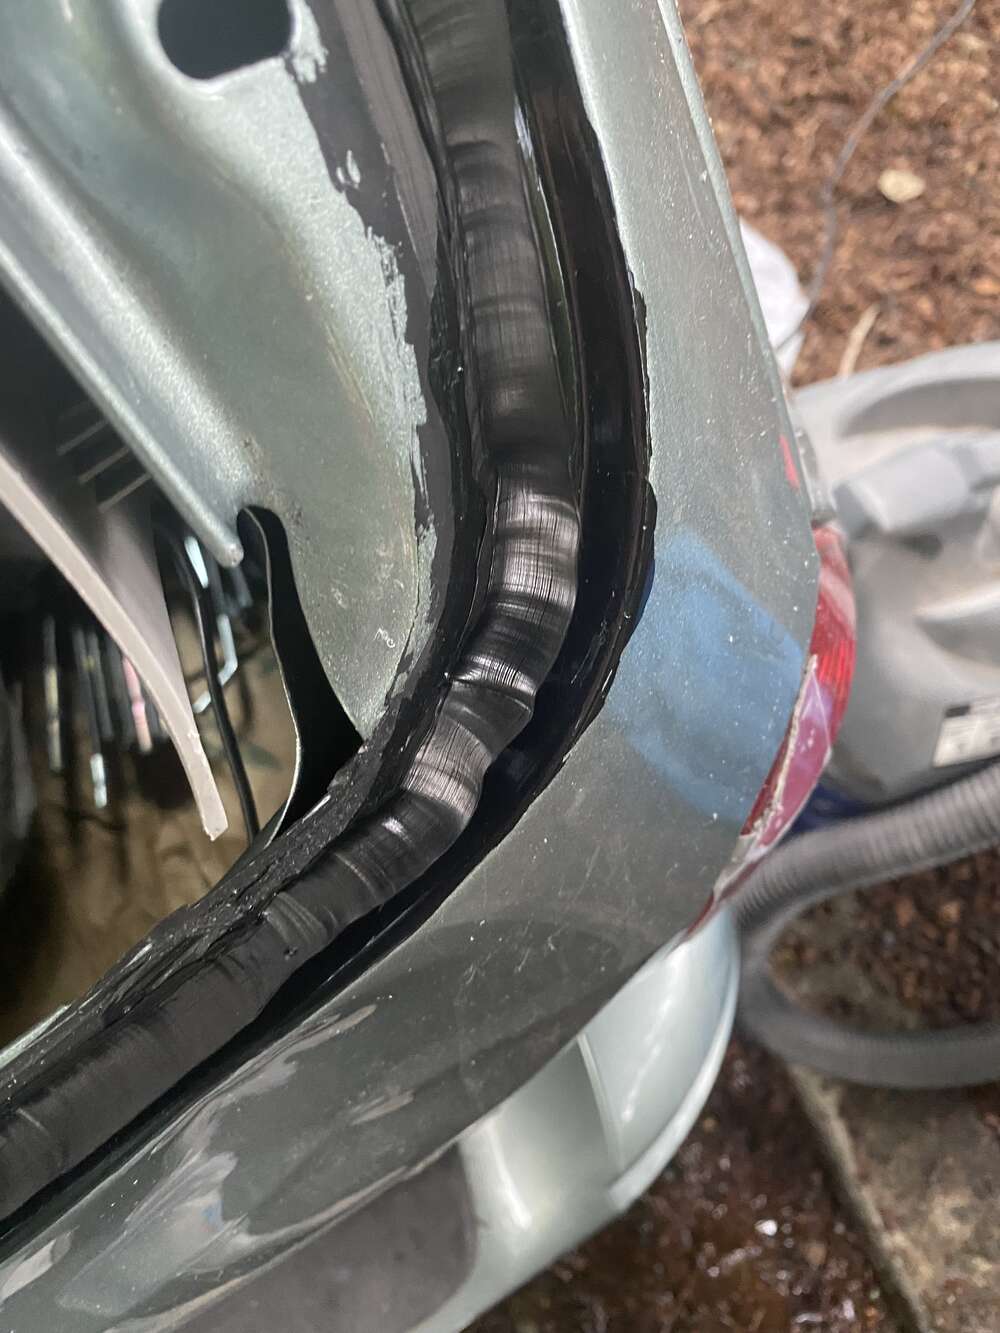
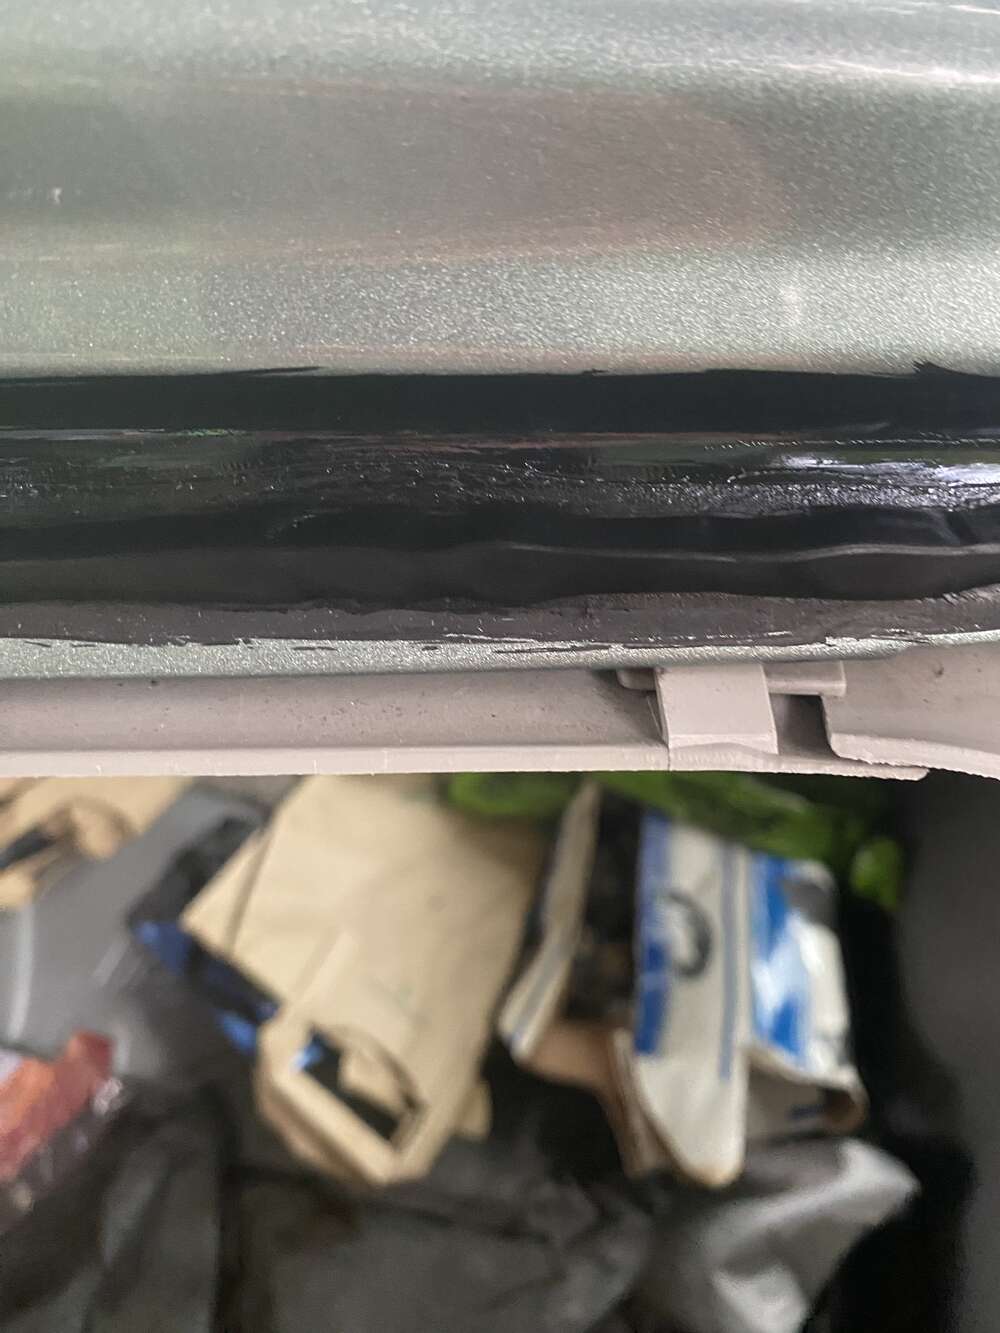
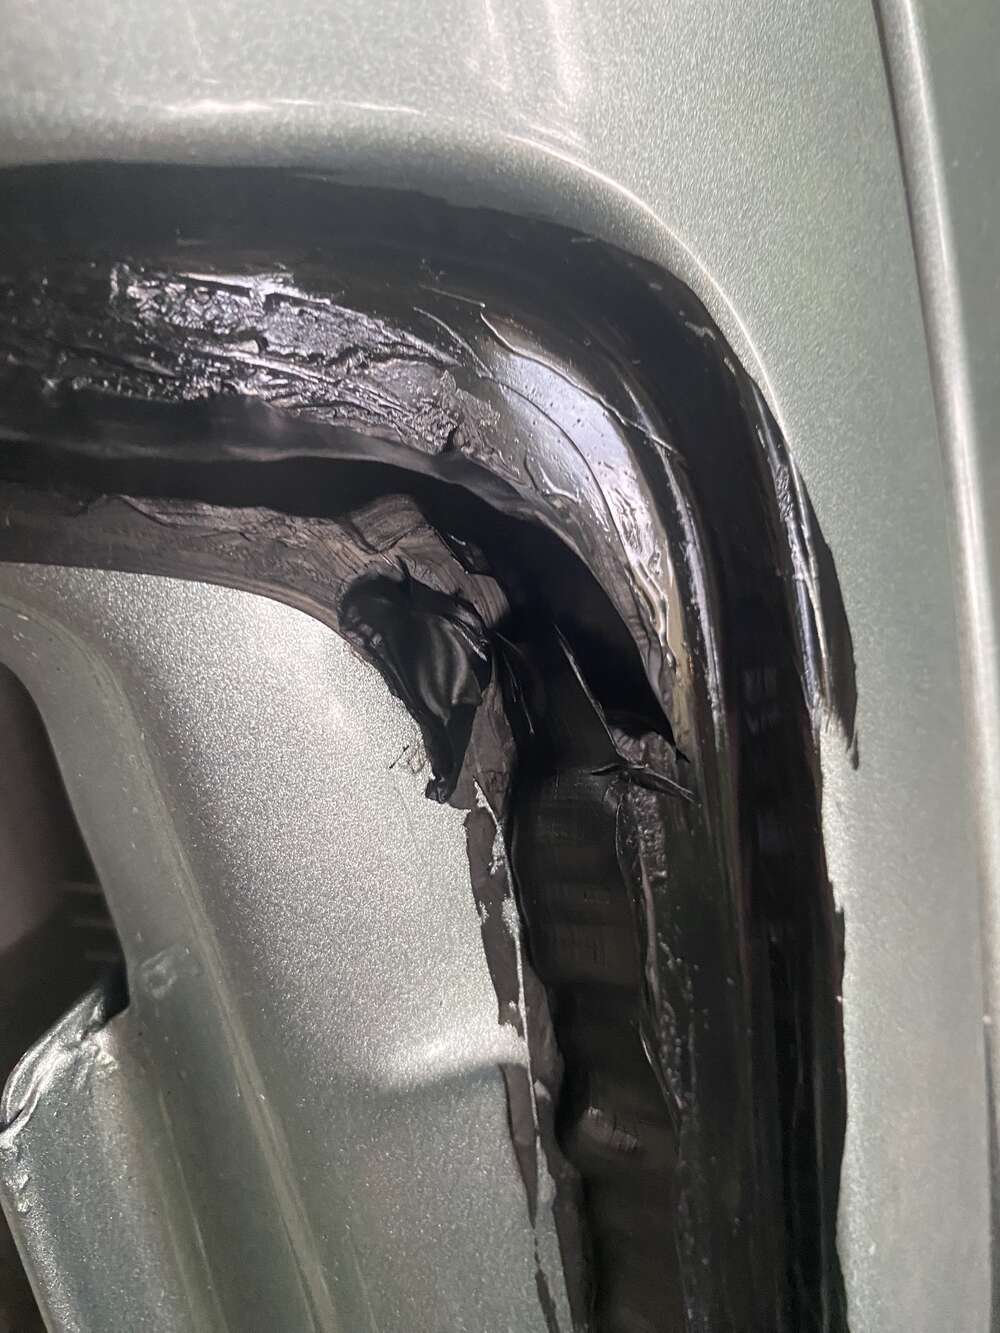
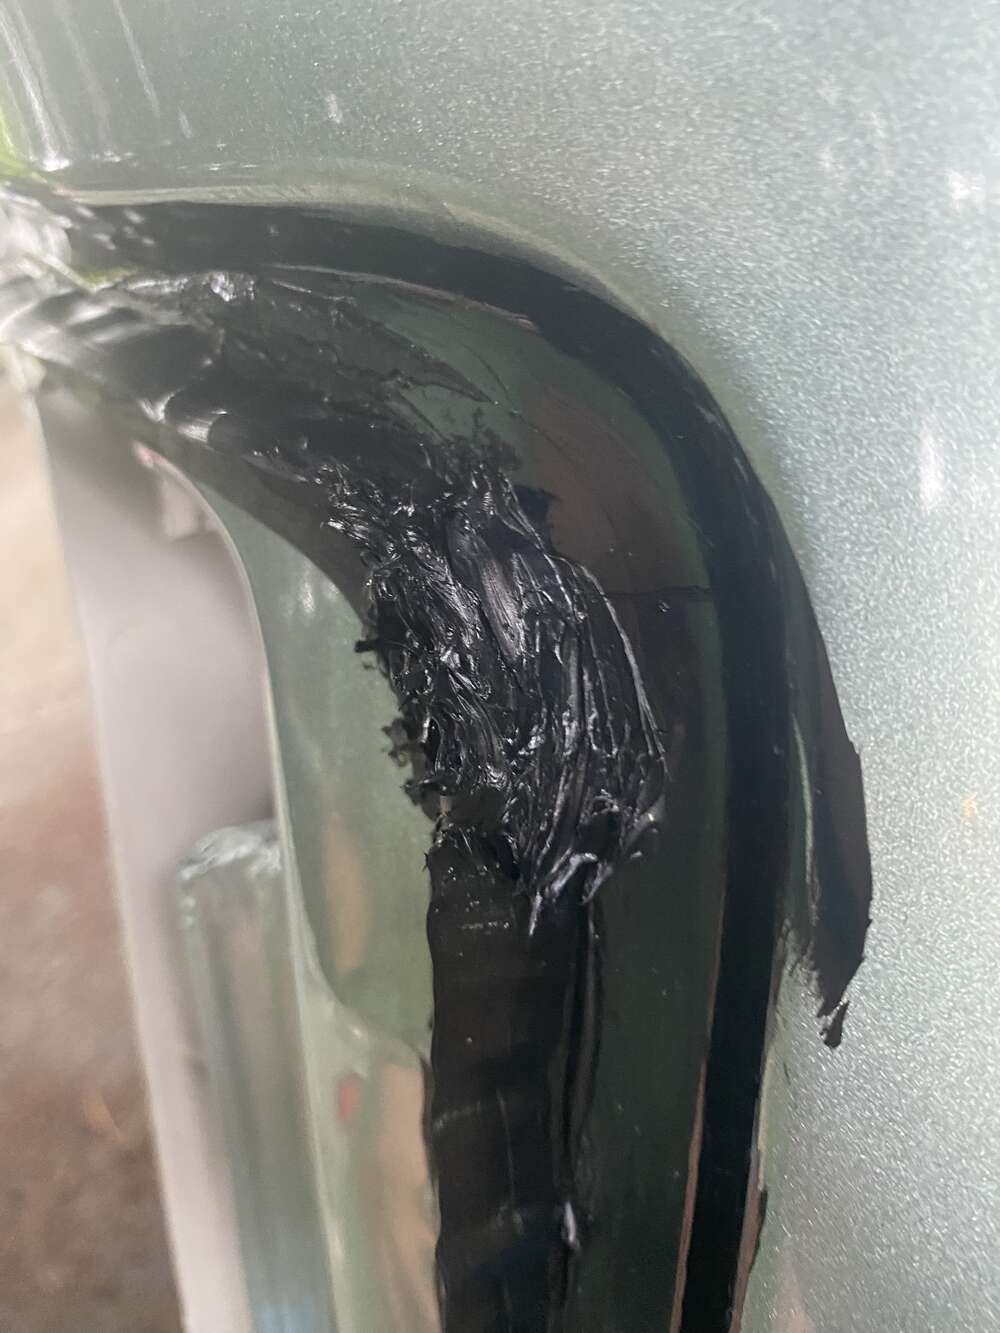
Dispensed urethane around entire window, trying to follow the thin layer of urethane left over from the previous window. Once I’d made it around the entire window I overlapped the urethane by a bit and mixed them together a bit with a stick. See pictures.
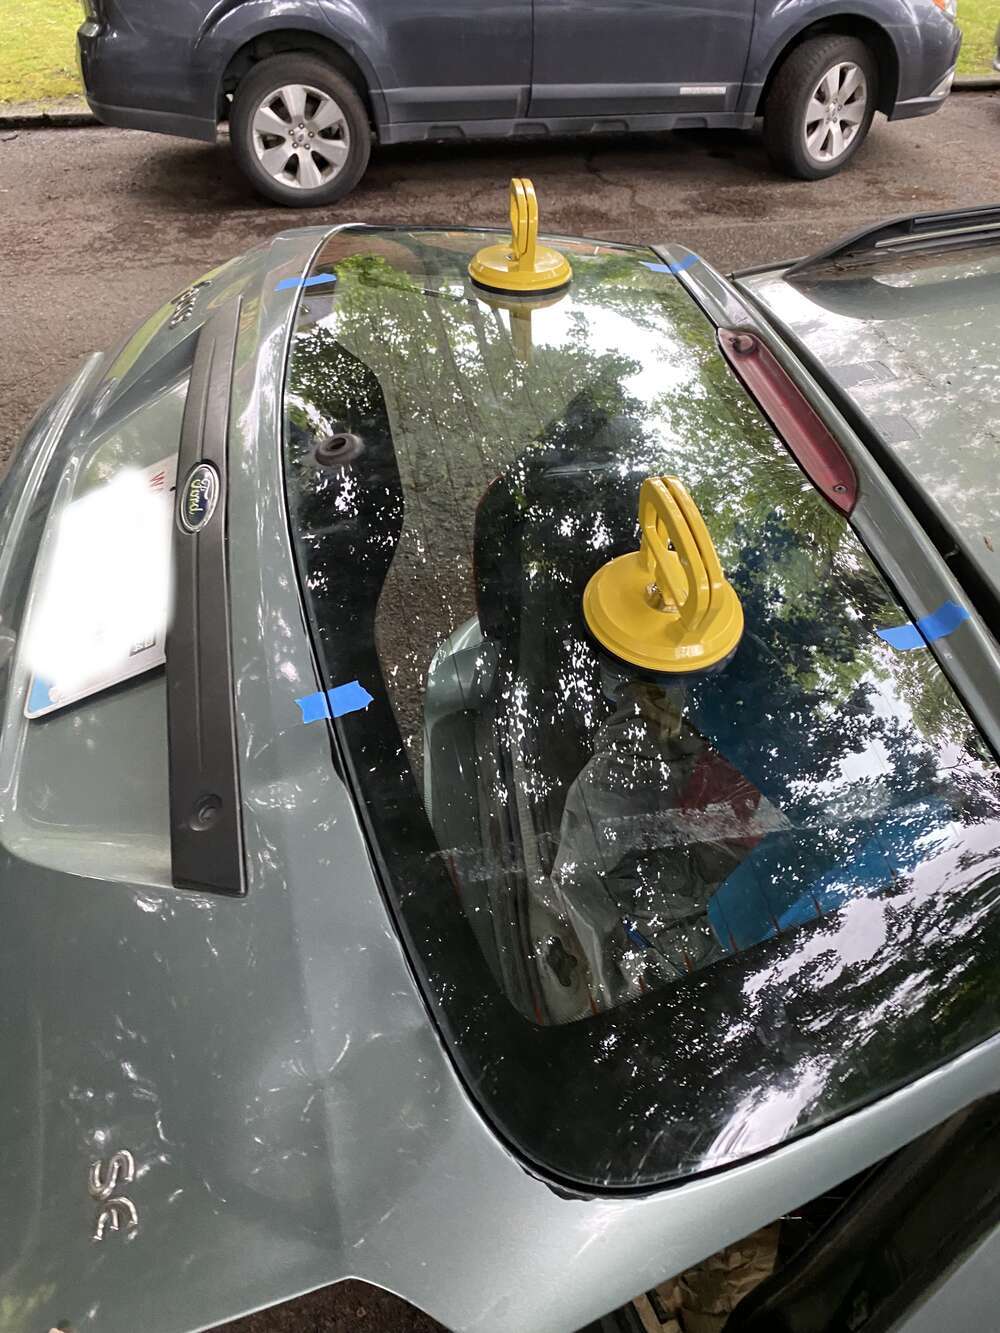
I slowly and carefully picked up the window and, using the suction cups, placed it on the glue. I guided myself with the pieces of tape I’d placed earlier. Once I was sure the window was aligned correctly I pushed down on it with a LOT of force. The urethane was extremely thick so it took a lot of pressure against the window to make sure it was all the way down and compressed. I slowly worked my way around the window, pushing down on it with my hands.
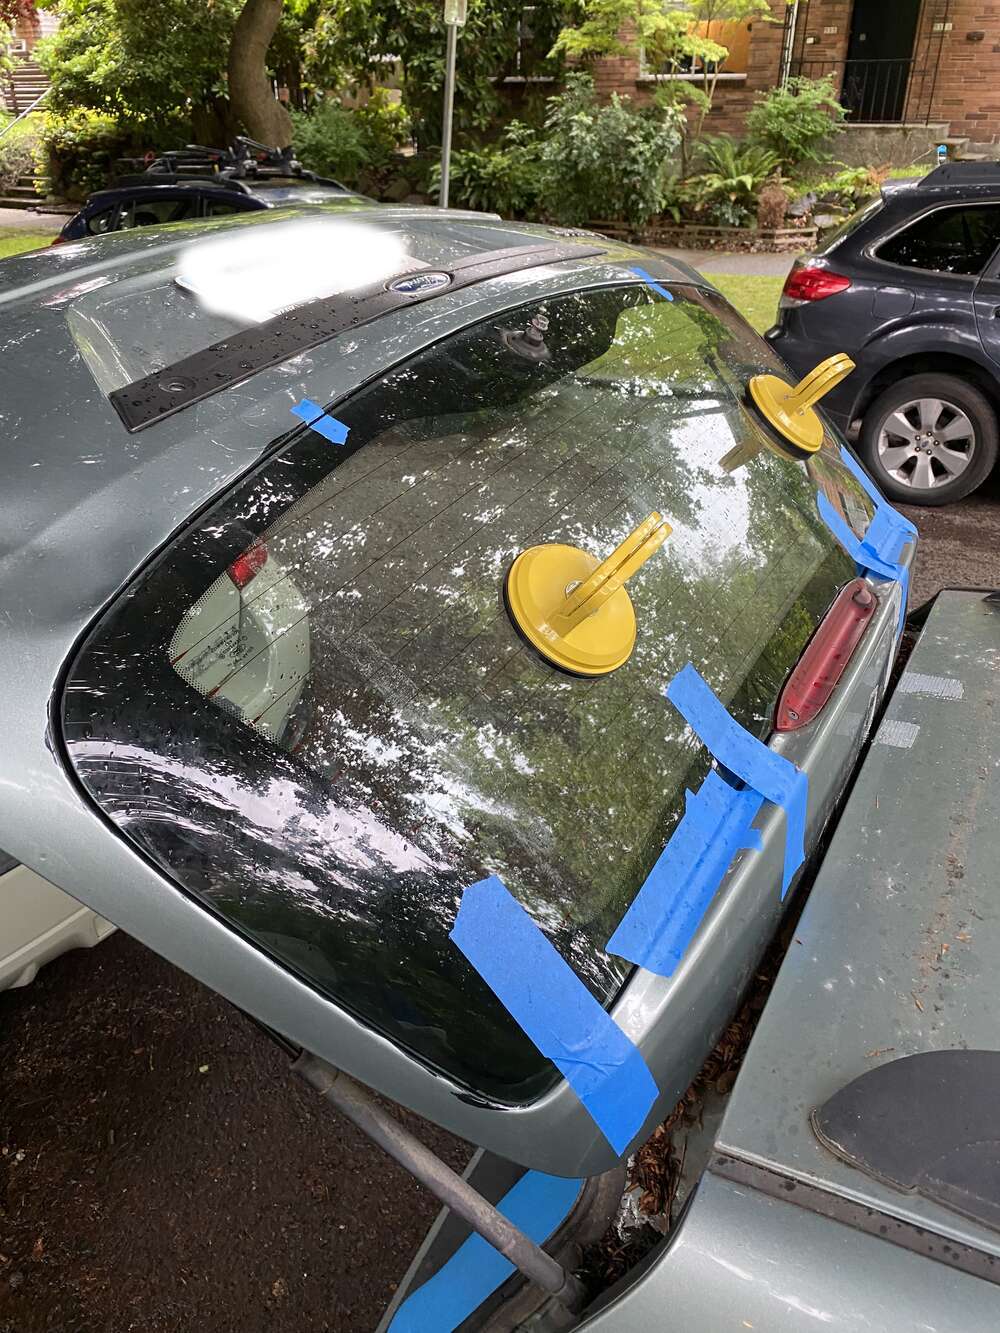
I put some tape from the top of the window to the top of my trunk door to keep the window from shifting down from its own weight as the urethane dried. The urethane was extremely thick and viscous so I wasn’t too worried about it shifting/coming off otherwise.
While waiting for the urethane to dry I made sure to leave a window cracked whenever I opened/closed any doors to avoid blowing the new window out. I ended up leaving the tape on for a while because I was paranoid.
The window has remained attached and intact for almost a year now! No leaks, no nothing, it has been good as new.